Demo Processes
The Axon Ivy Portal includes example processes to help you understand how Portal and Axon Ivy work together. When you start the Engine in demo mode, the portal-user-examples project provides interactive examples you can explore and test.
Demo User Accounts
Use these accounts to log in and test different user roles:
Username |
Password |
Role |
|---|---|---|
admin |
admin |
Portal administrator |
demo |
demo |
Standard user |
guest |
guest |
Standard user |
Example Processes
Leave Request
Login to Portal.
Select User example guide to open the overview page.
On the example overview page, start the leave request
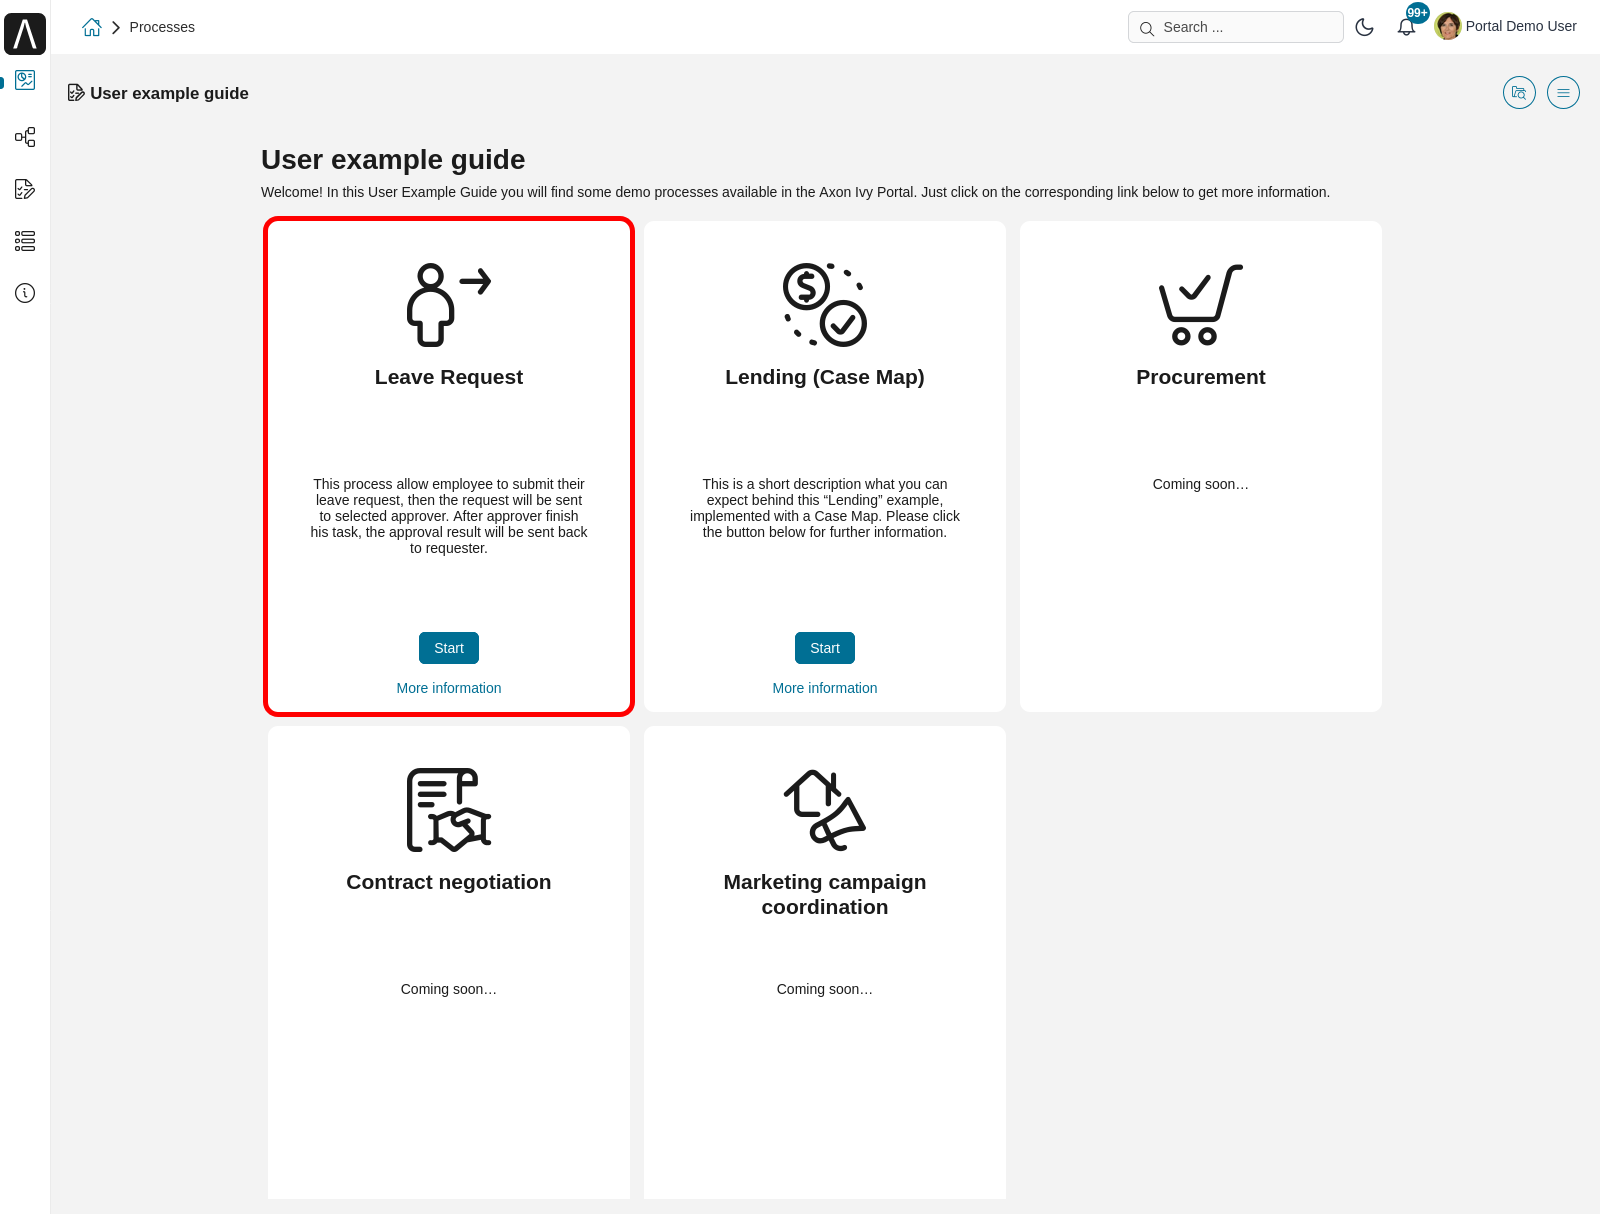
You will go directly to the first task Create leave request for: <user>.
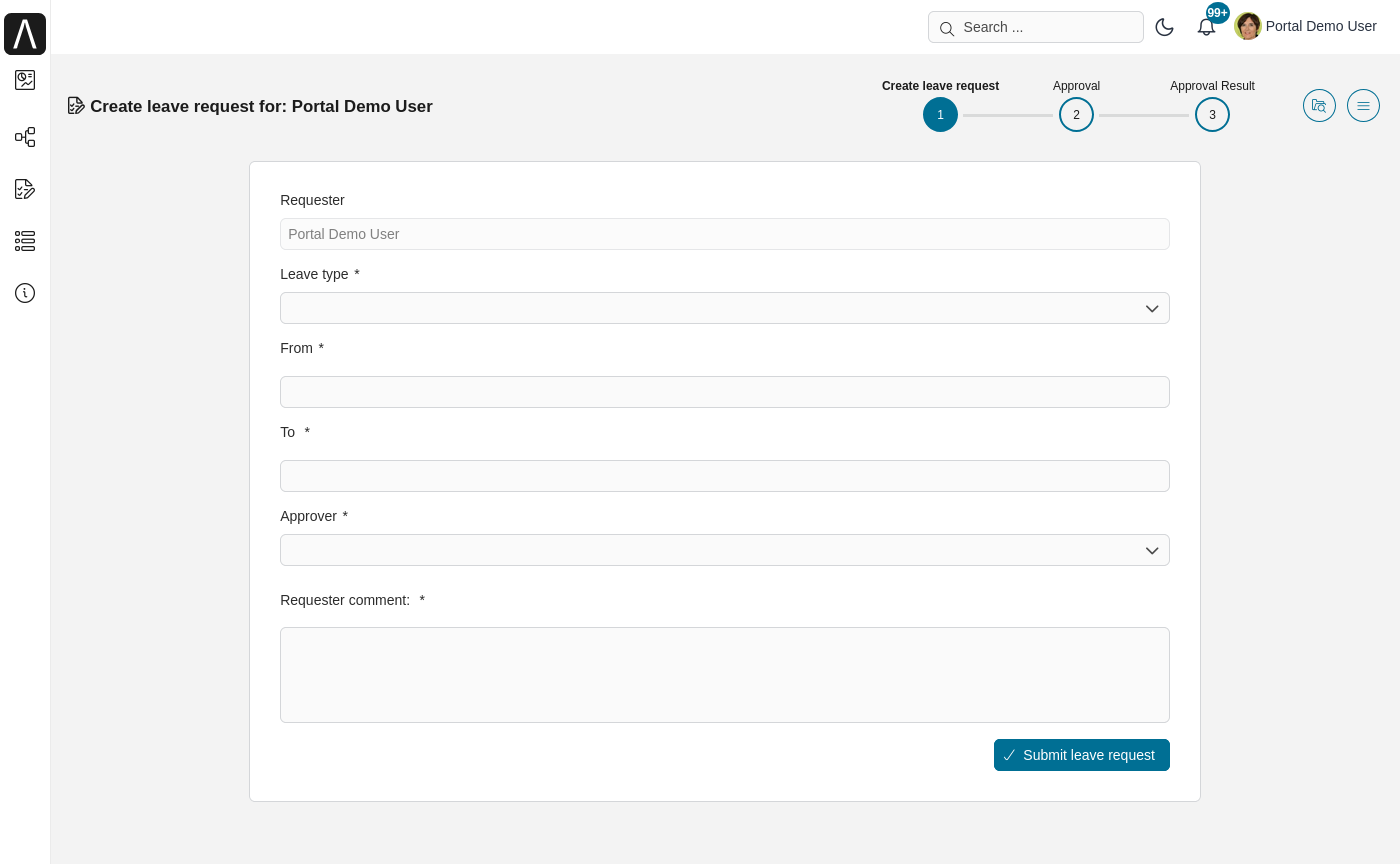
Input your data and submit your leave request. Based on your selected approver, the next task will be assigned to that user.
The second task is Leave request approval. After the approver finishes his task, the summary task will be assigned back to requester.
After the requester finishes the summary task, the case ends.
Lending (Case Map)
Login to Portal
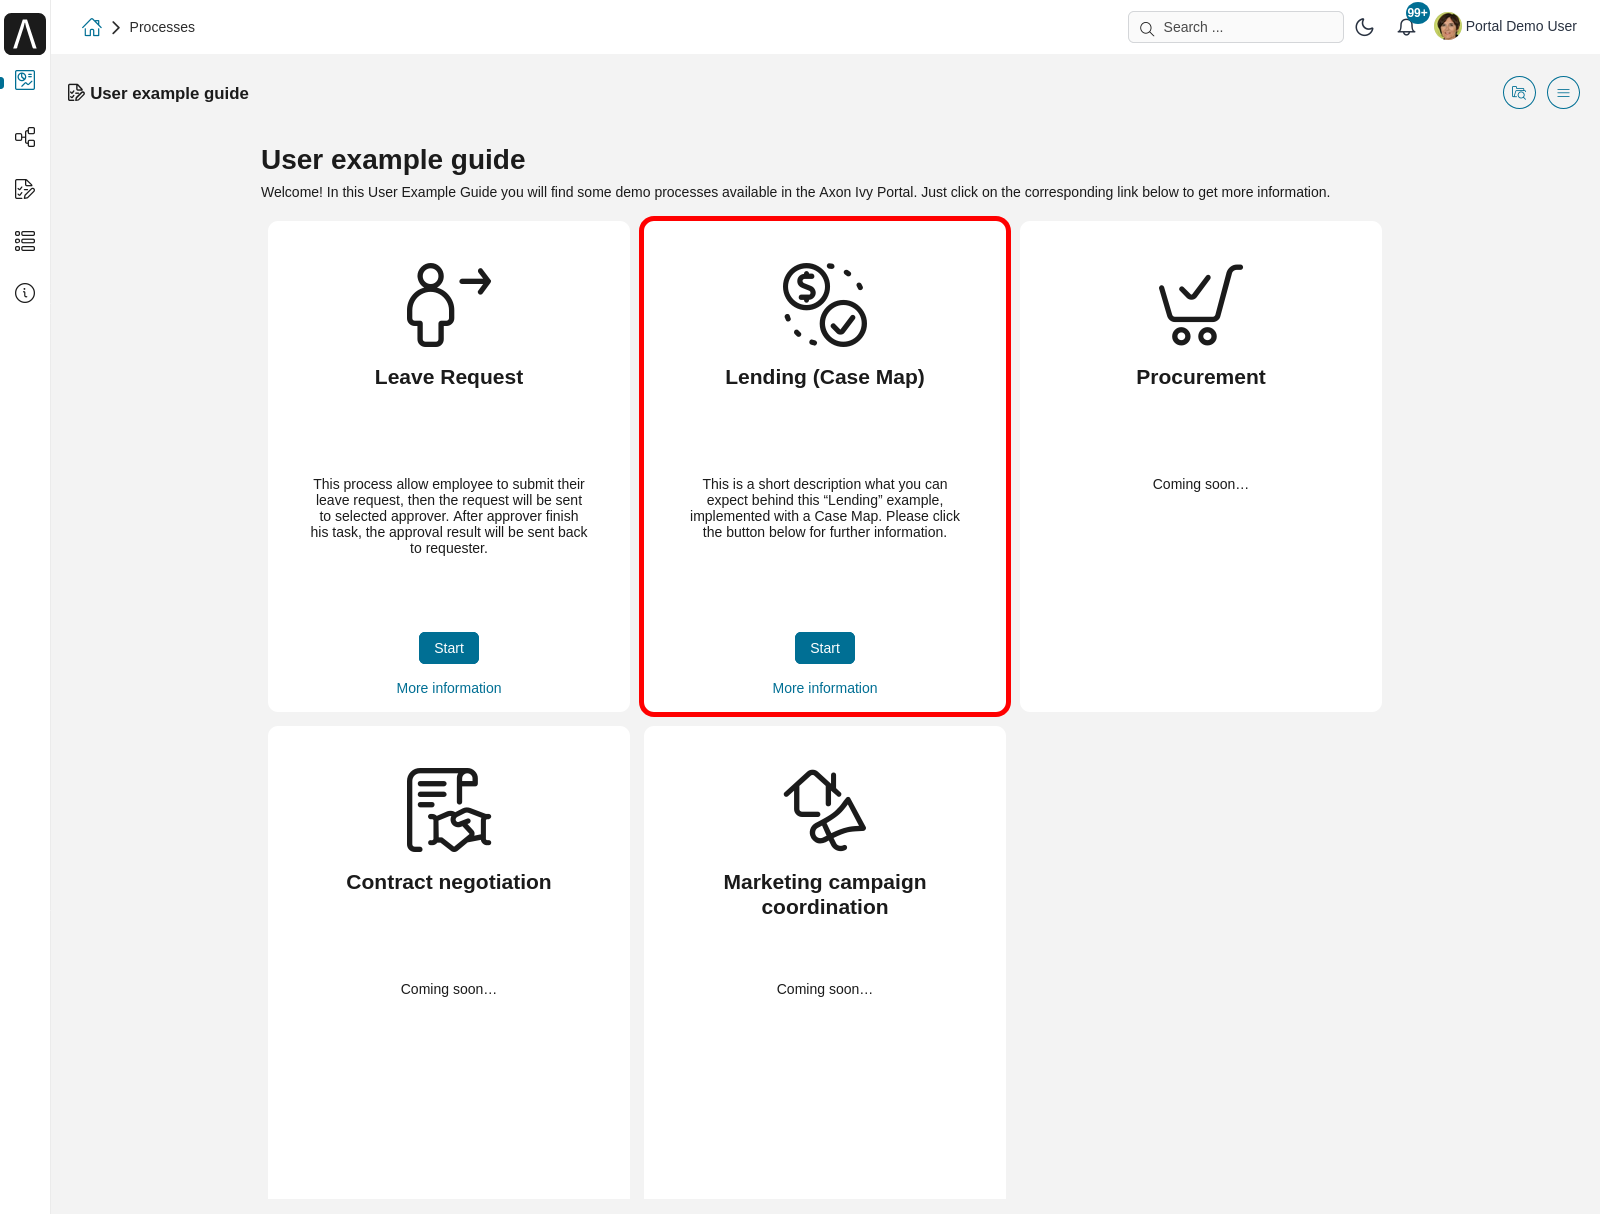
Select User example guide to open the overview page.
On the example overview page, start the lending case
You will go directly to the first task Collect Personal Data
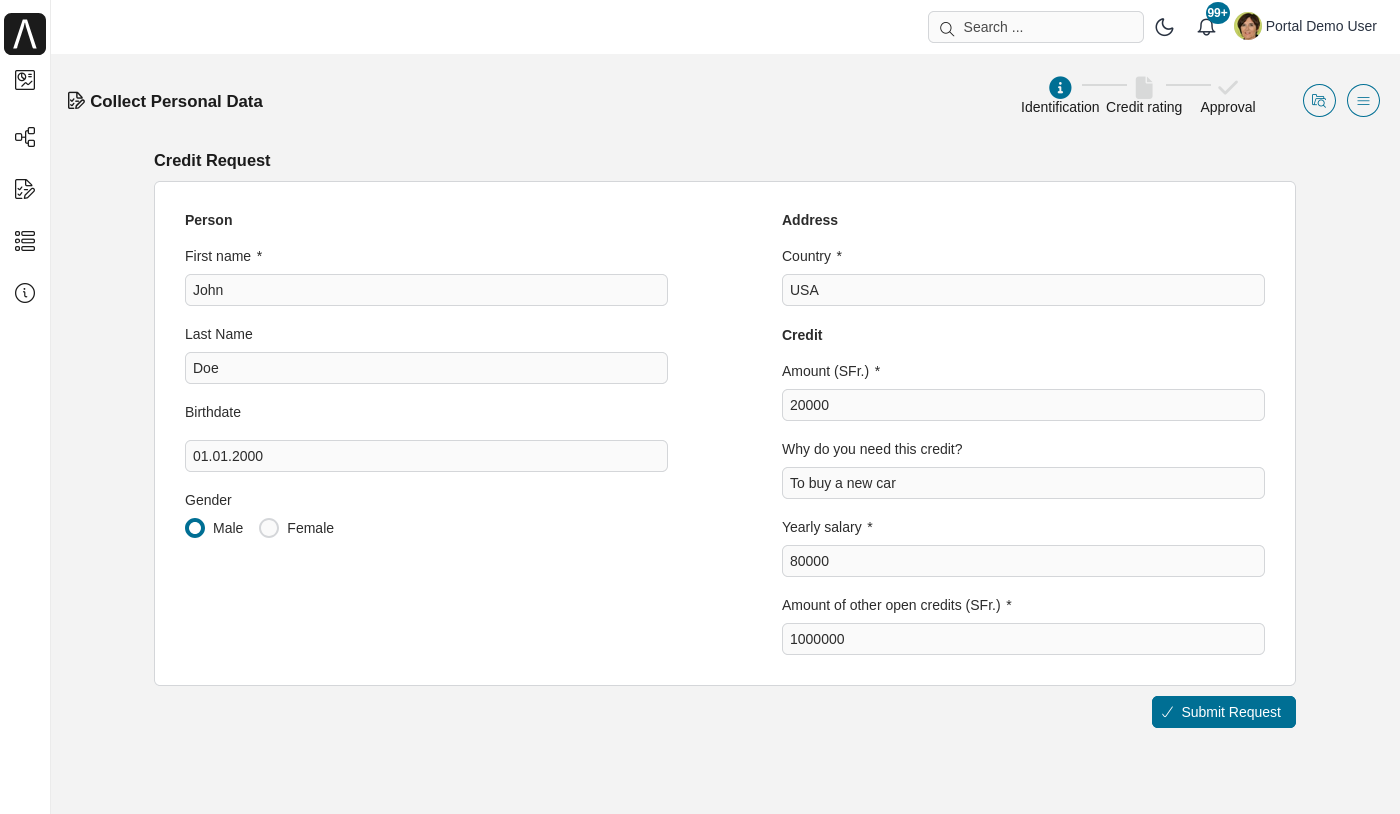
By default, we supply dummy data for all fields. You can input your data and submit the request.
You will go to task Verify Personal Data to verify your information.
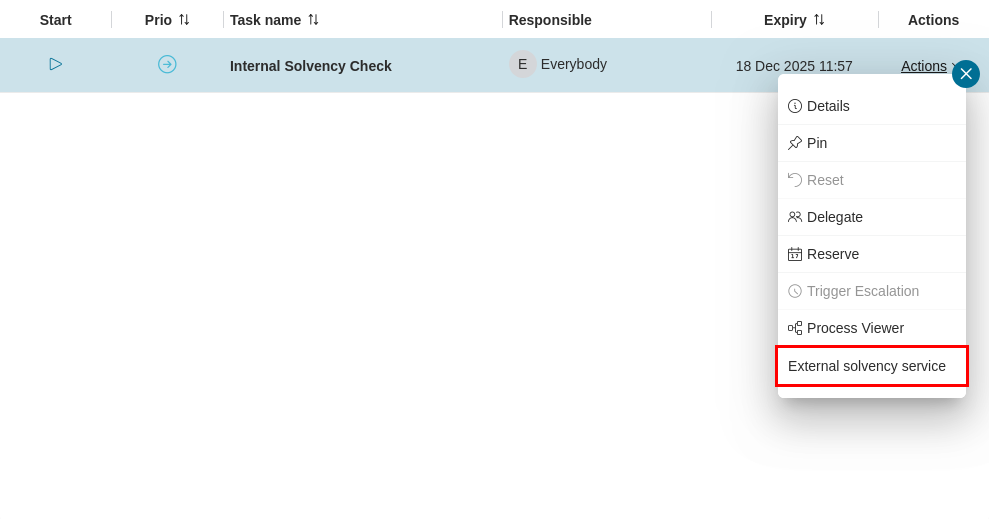
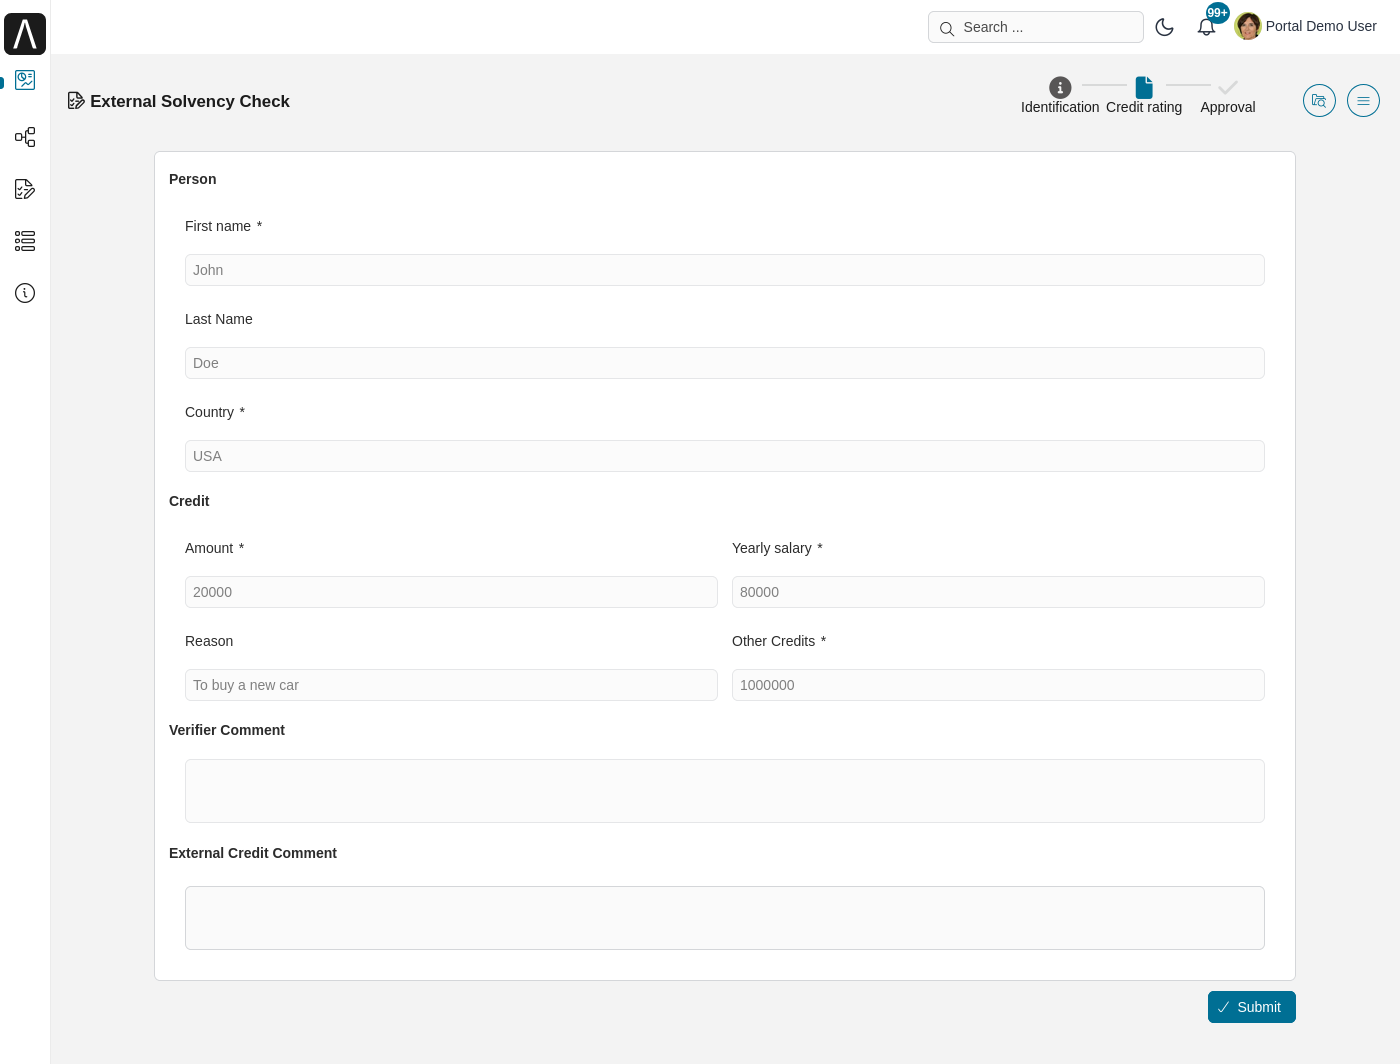
In the Internal Solvency Check task, you can proceed to the next task or start the External Solvency Service sidestep by clicking External solvency service.
After finishing Internal Solvency Check, you will have 1 or 2 approval levels which depend on Amount and Salary fields. If Amount is greater than or equal to 20% of Salary, you will have 2 approval levels.
In the approval task, approve to complete the task and go to the last step: create a contract. Once the Create Contract task is finished, the case is Done. If we reject task, the case will end in status Rejected.
Side step
Login to Portal.
Go to process list, select Leave request with side step processes (task level) or Leave request with side step processes (case level) to start a leave request.
You will go directly to the first task Create leave request for: <user>.
Input your data and submit your leave request. Based on your selected approver, the next task will be assigned to that user.
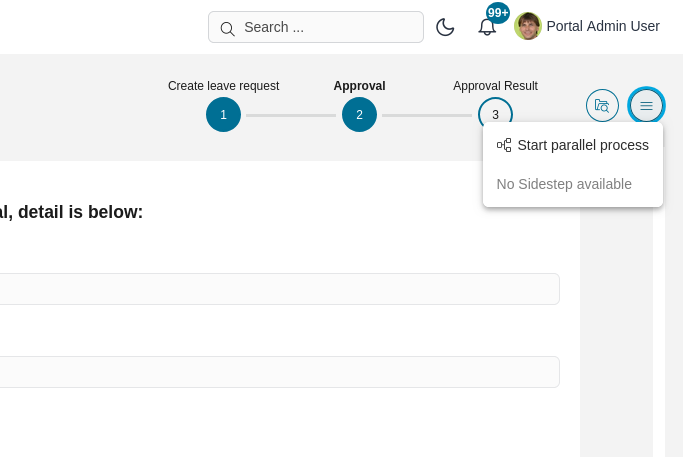
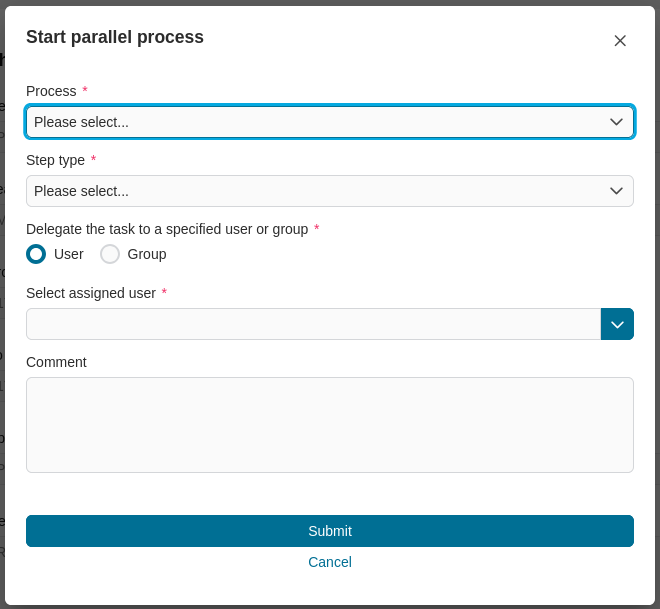
The second task is Leave request approval. You can start a side step task by selecting Start parallel process with the approval task. For more details about this concept, please refer to Integrate A Side Step Process
With task level, each task will have different process list to select.
With case level, all tasks will have same process list to select.
The side step can be started asynchronously or synchronously by selecting Step type
After the requester finishes the side step tasks and open again the original task (the task which you start side step task from it), a summary dialog will be shown. This dialog will list out information about all relevant completed side step tasks.