Process Image
Introduction
The Process Image customization allows you to assign custom visual icons to your processes in Portal’s process list and cards. By defining a CMS image object in the process start’s custom fields, you can replace the default process icons with branded images that help users quickly identify and distinguish between different processes.
Portal resolves the image at runtime from the process start’s custom field. If no image is defined or the CMS object cannot be found, Portal falls back to the default process icon. Images appear on the full process list and on process cards wherever they are rendered.
Define Your Own Process Image
Create a CMS object with type image in your project. Place new CMS entries under the
cms/folder and use capitalized names per standards.Tip
Prefer SVG for crisp scaling. PNG/JPG are supported; keep file size small.
Recommended visual box: square aspect ratio (e.g., 64x64 or 128x128) for consistent card rendering.
Define a custom field
processImagein Custom Fields of the process start. The value of this custom field is the CMS object which you created above.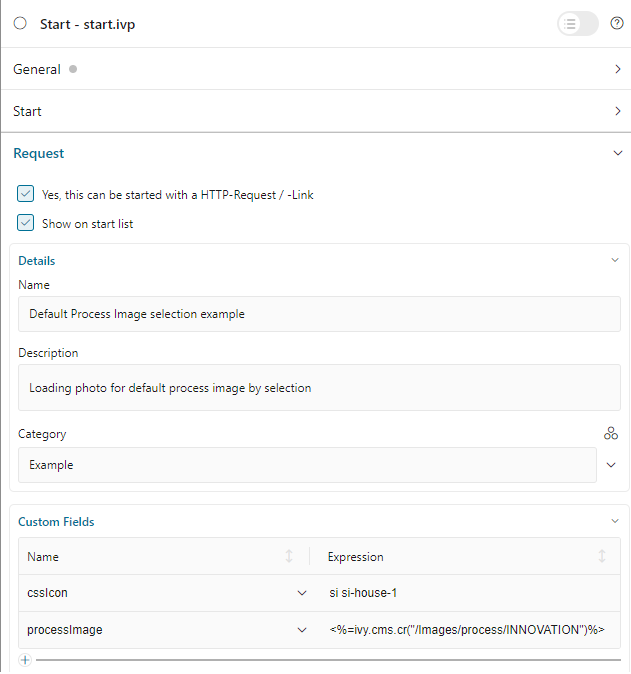
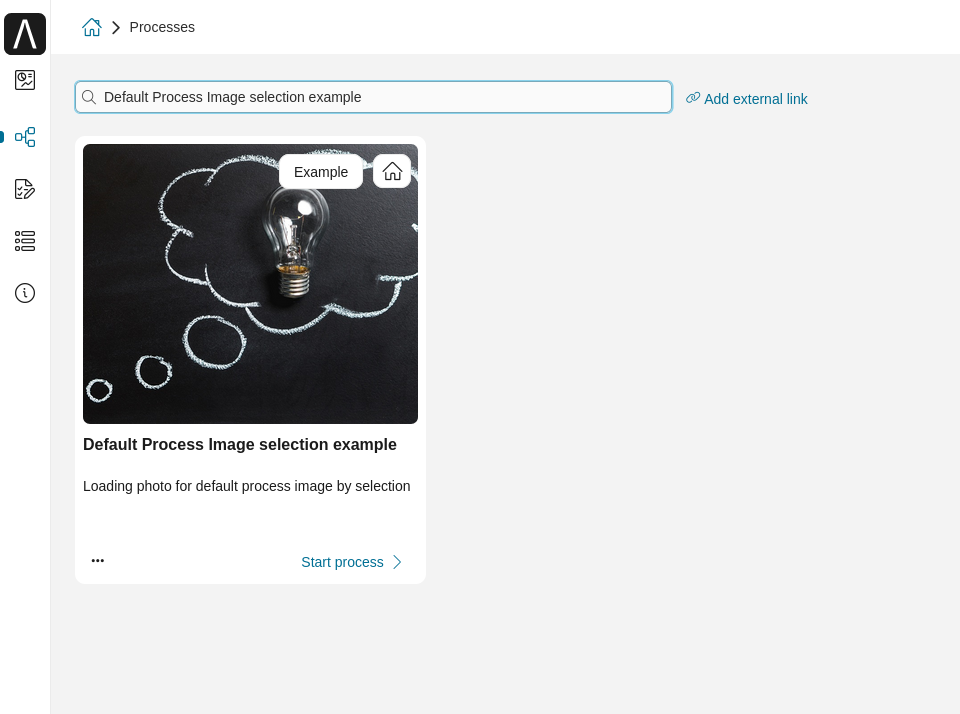
Go to the full process list page and search your customized process.
Note
Changes to CMS content may be cached. If the image doesn’t update immediately, clear the engine cache or redeploy your project.
Ensure users have permission to see the process; otherwise, the image will not be visible in their lists.
Avoid one-character names and inline styles when preparing images.