Full Task List
The Full Task List page shows you the same tasks you see on your
personal dashboard. However, this page provides you with extended
information on the tasks, as well as, advanced search and filter
capabilities. You can reach the page by using the ![]() Tasks
link in the Axon Ivy Portal menu.
Tasks
link in the Axon Ivy Portal menu.
Hint
Depending on the roles you hold in the application and the configuration of the Axon Ivy Portal, you might see not only the tasks belonging to you but all open tasks.
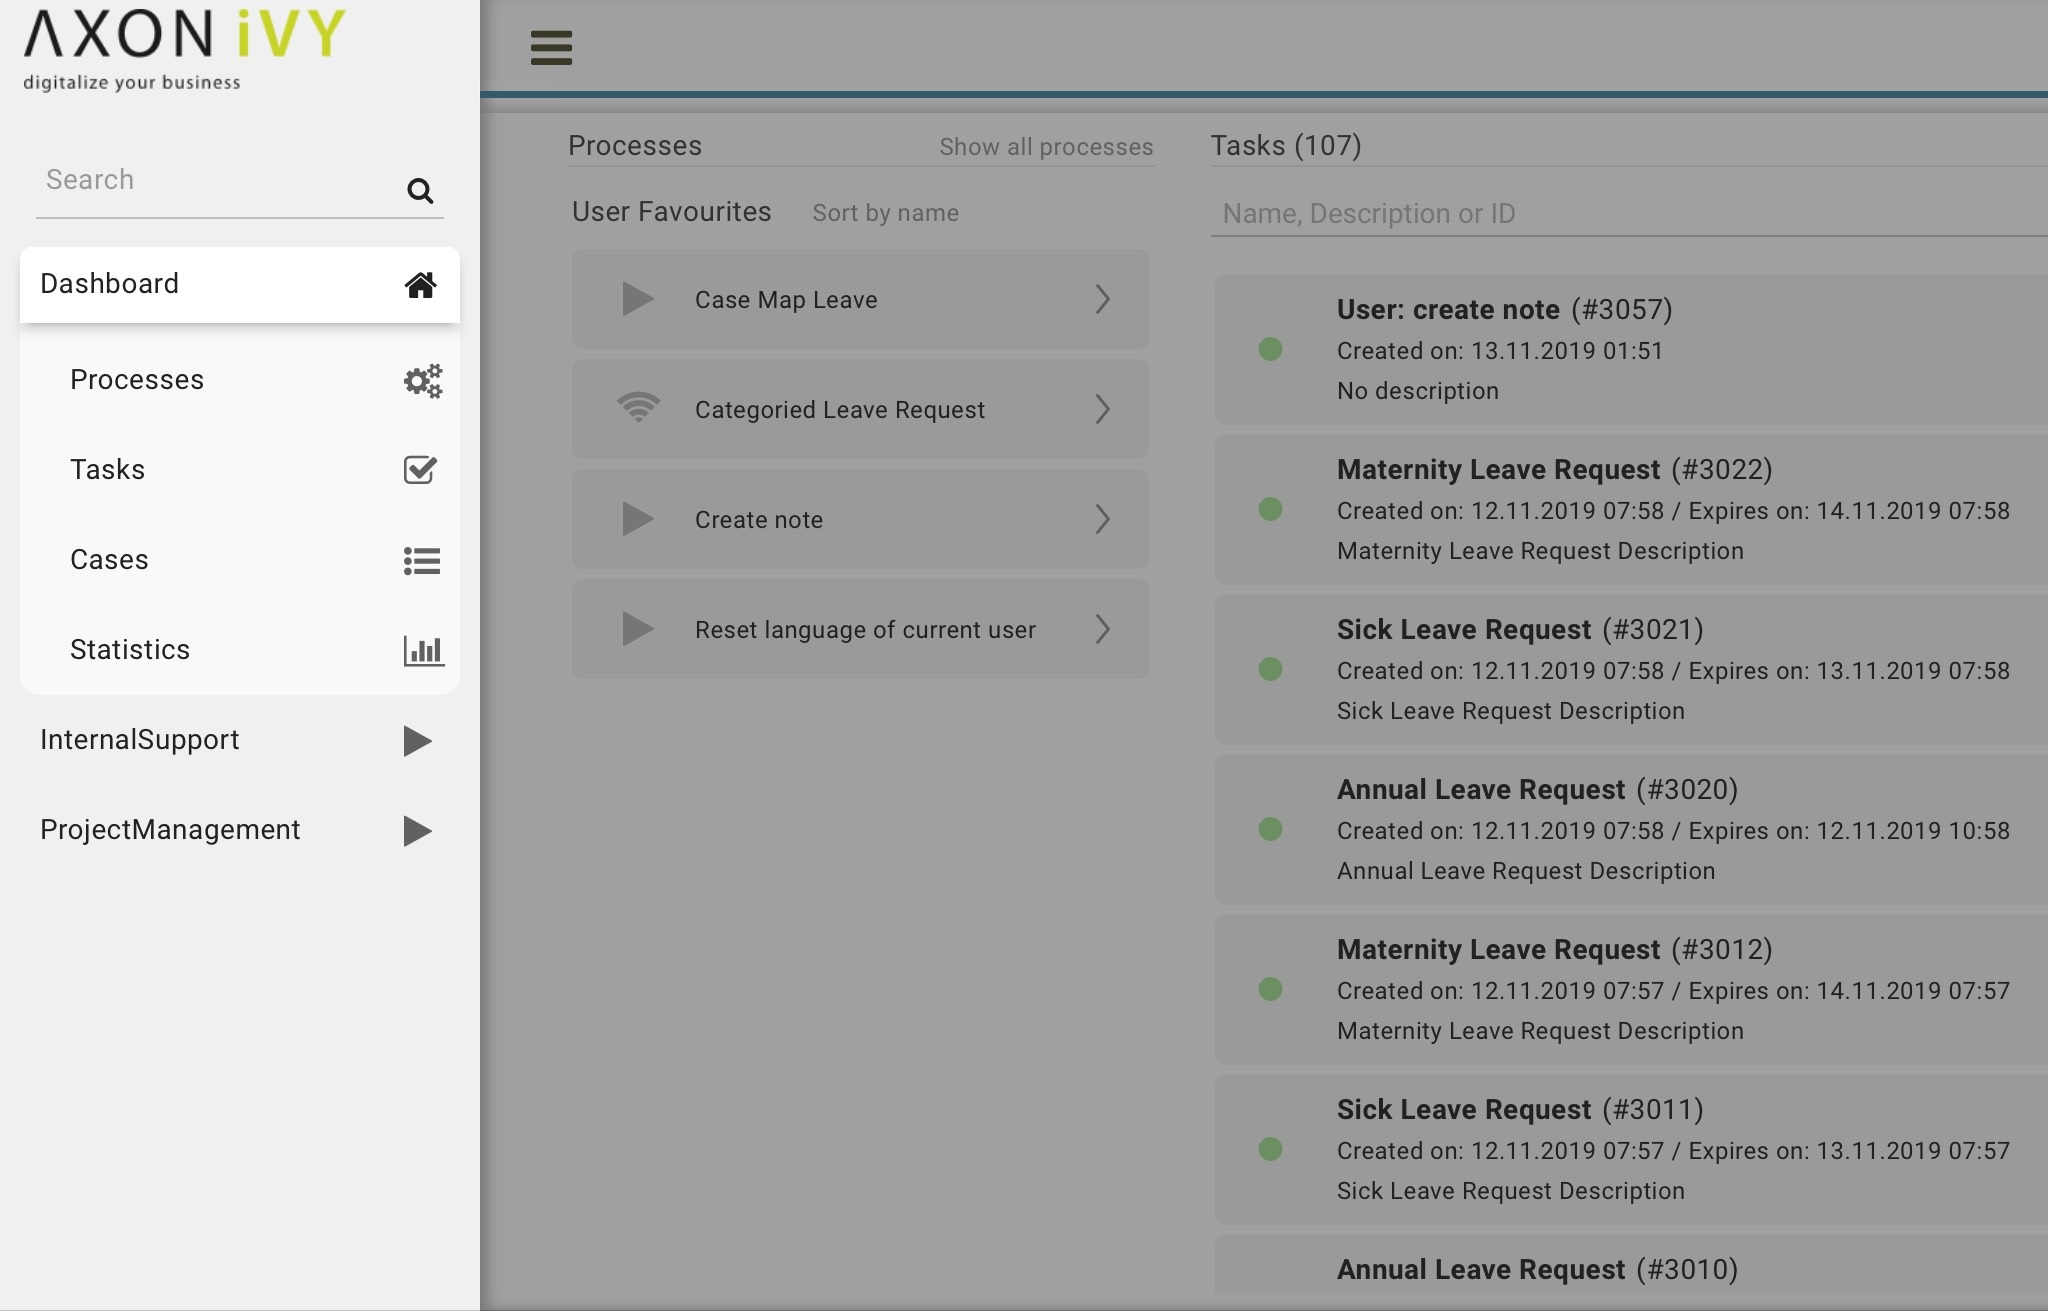
On the top of the Full Task List page you see next to the heading Tasks in brackets the overall number of tasks shown to you. Further to the right you find a search feature which you might use if you’re looking for a specific task. Below you find the filter feature. The usage will be explained in the HowTo’s further down this chapter. Finally, you see the list of tasks.
For each task the following key information is shown in the list:
Priority
Name and Description
Responsible user or role
Task ID
Creation Date
Expiry Date
Status
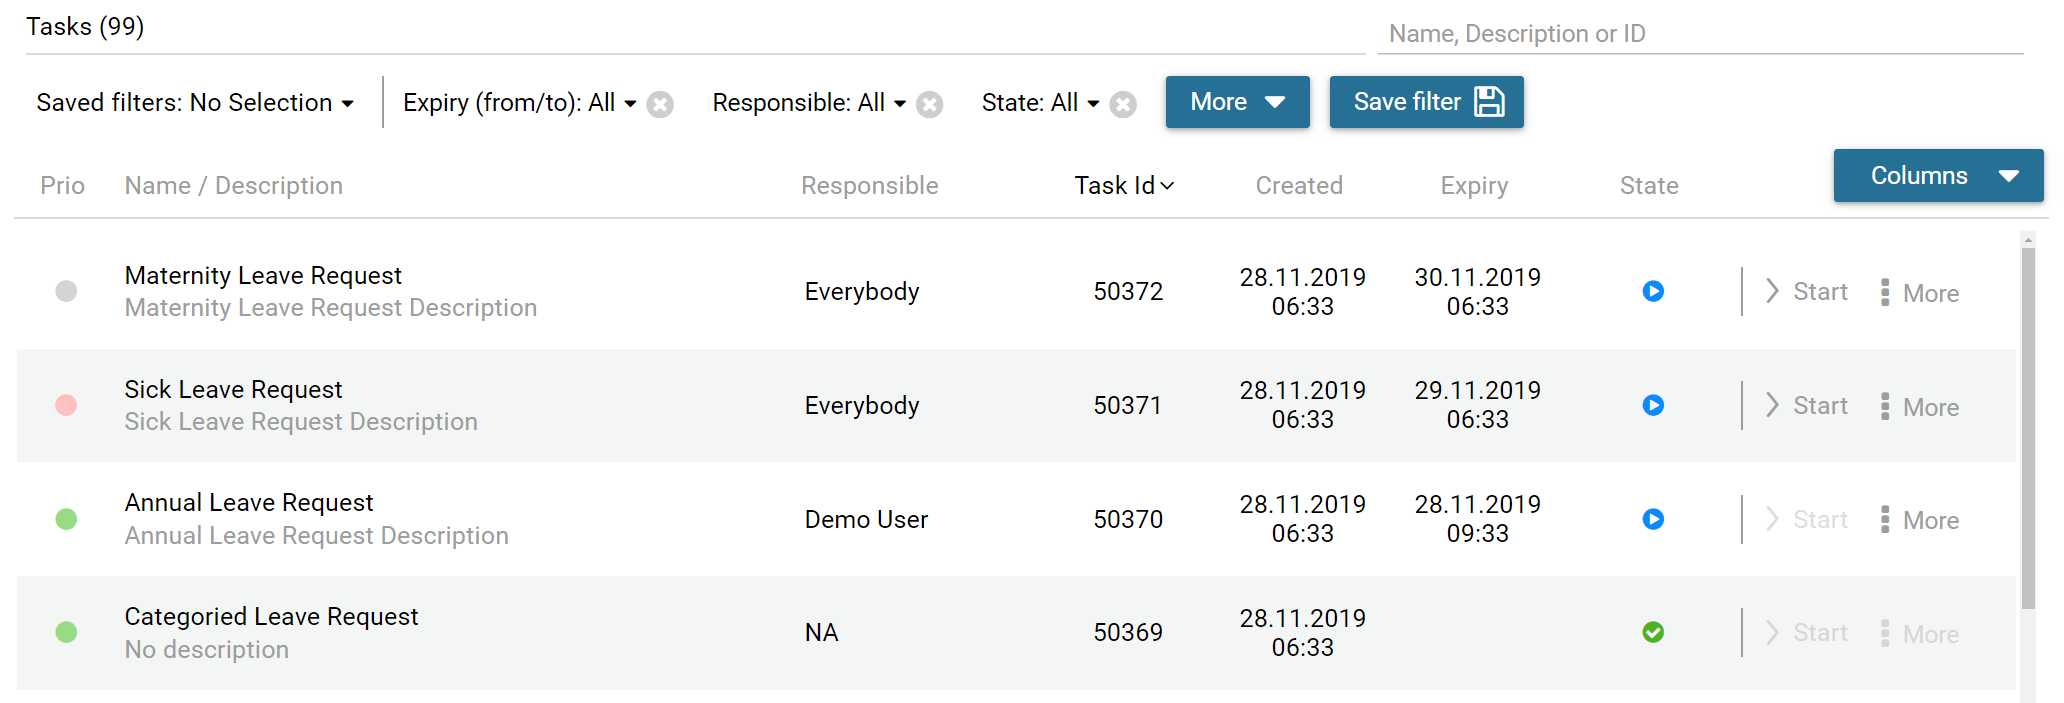
Furthermore, at the end of each row you find a side step menu of key features in handling tasks:
Reset Task
Delegate Task
Reserve
Add Ad-hoc Task
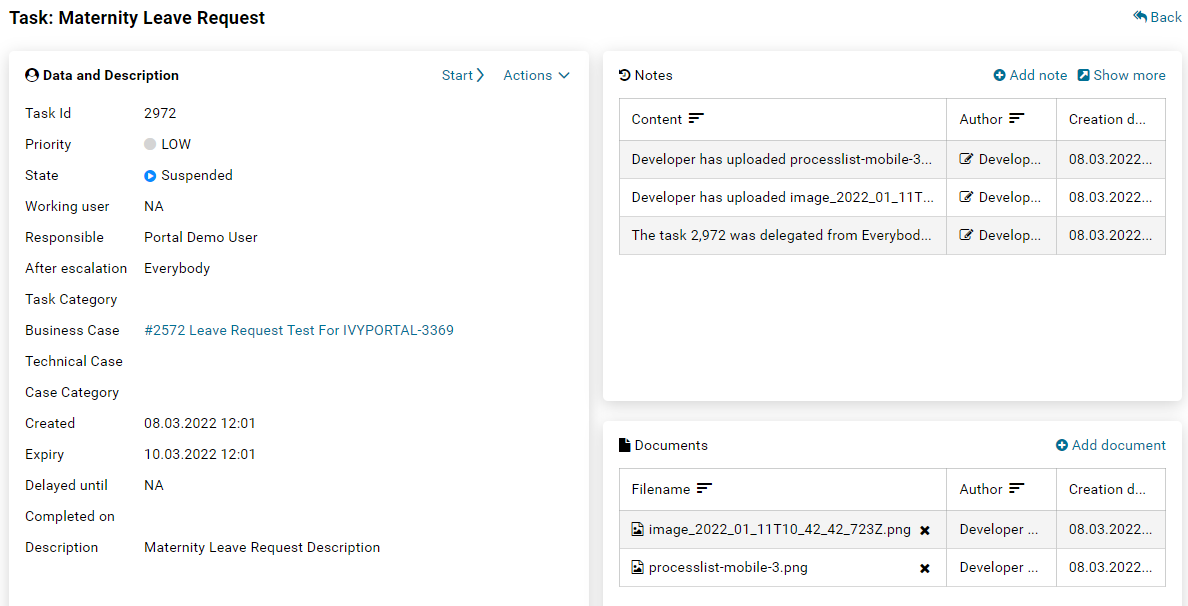
Finally, you have the possibility to access the full set of the task data by clicking on the row containing the task Name and Description.
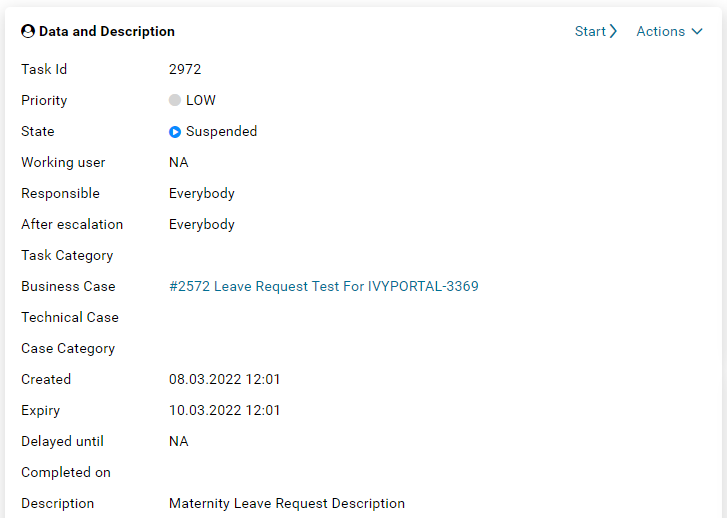
The task details are separated into 3 different sections:
Data and description, you find various metadata concerning the task and the respective case it is related to.
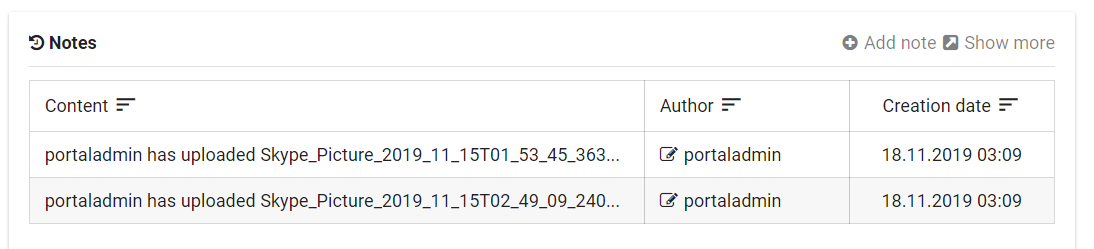
Note, you may add additional notes which is described below
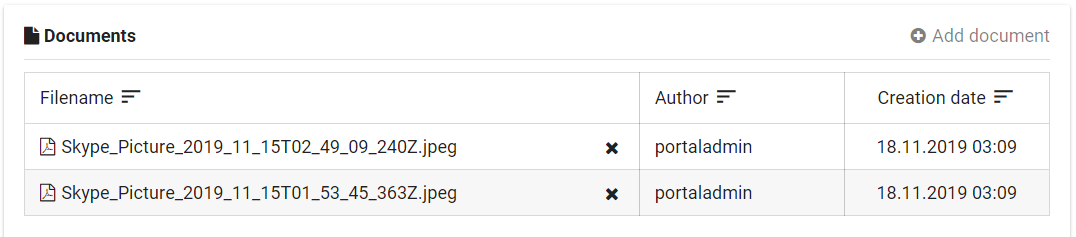
Document, these documents once attached to the case are available on all tasks. You may add or delete documents described in the HowTo’s below.
HowTo: Use existing filter
Hint
If there are no public filters and you didn’t create any filters so far, there might be no filters available. In this case, you must create a filter first. This is described in detail in HowTo: Create new filter.
Click on the Save Filter dropdown menu.
Select the filter you want to use.
HowTo: Create new filter
Click on the button More to select one of the available filters. For a list of available filters, see Task filter criteria.
Click on the newly added filter and configure it.
Add more filters by clicking on the button Filter again.
Drop filters by clicking on the
 icon next to
the filter.
icon next to
the filter.When finished defining your filter, click on the button Save filter.
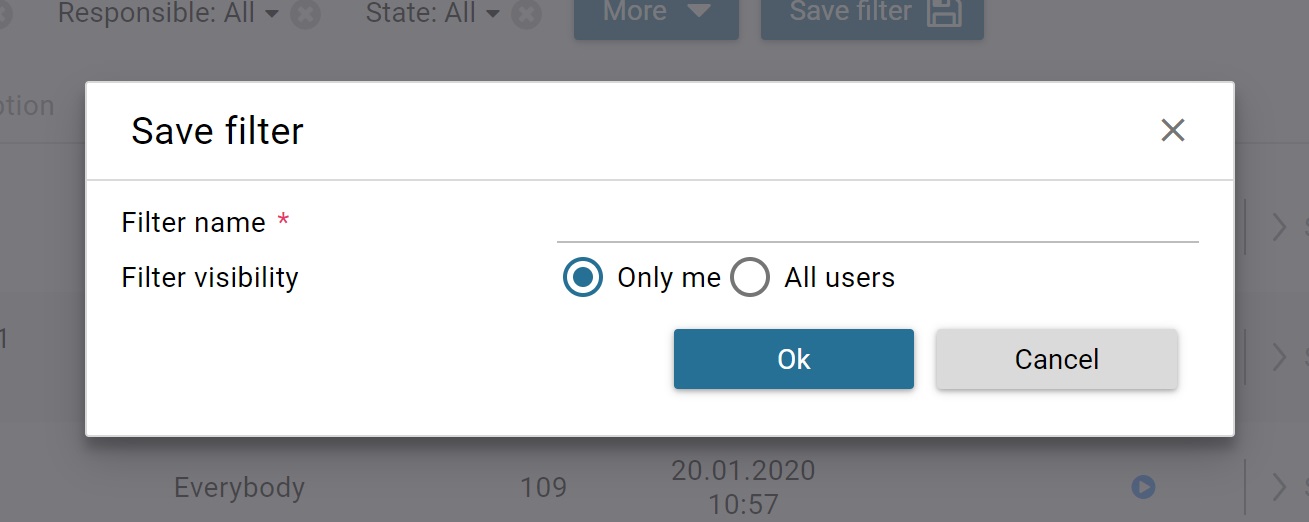
The Save filter dialog is opened.
Under Filter name, provide a recognizable name for the filter.
Under Filter visibility, you can select if the filter is only visible for you or shall be available to all users.
Save the filter by clicking the button Ok.
Task filter criteria
Criteria |
Description |
|---|---|
ID |
The filter lets you specify the task identify number |
Name |
The filter lets you specify the task name |
Created (from / to) |
The filter lets you specify in which time period the task was created. |
Description |
The filter lets you search for keywords within the task description. |
Expiry (from / to) |
The filter lets you specify in which time period the task will expire. |
Priority |
The filter lets you specify the priority of the tasks to be shown. |
Responsible |
The filter lets you specify a user or role which is responsible for the task. |
State |
The filter lets you specify the task state. |
Hint
You can create a new filter by selecting an existing filter, reconfiguring it, and saving it.
Only users with the admin role
AXONIVY_PORTAL_ADMINcan save the filter for all users.
HowTo: Configure displayed tasks in the Full Task List
To choose columns to display, click on Manage columns. Then you could choose displayed columns by checking the related checkboxes.
To sort data, click on the column header. To change sort direction, click on that column header one more time. Note that some columns do not support sorting.
HowTo: Attach a document to the case
Open the task details of a task
Click the link
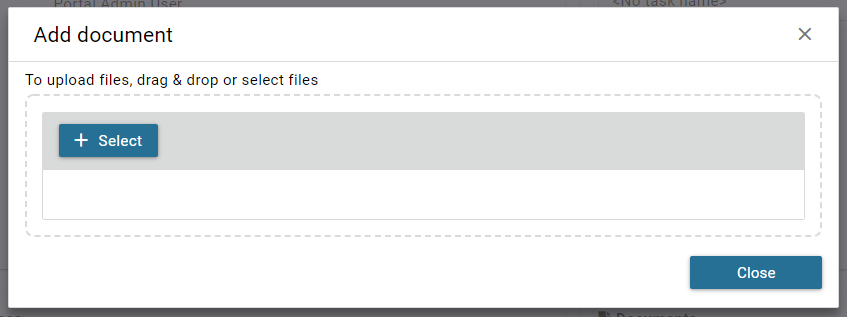
 Add document
The Add document dialog is opened
Upload a file by using the Select button or by simply dragging the file into the dialog
Click the button Close to see the uploaded attachment
HowTo: Remove an attachment from the case
Open the task details of a task
Click on the
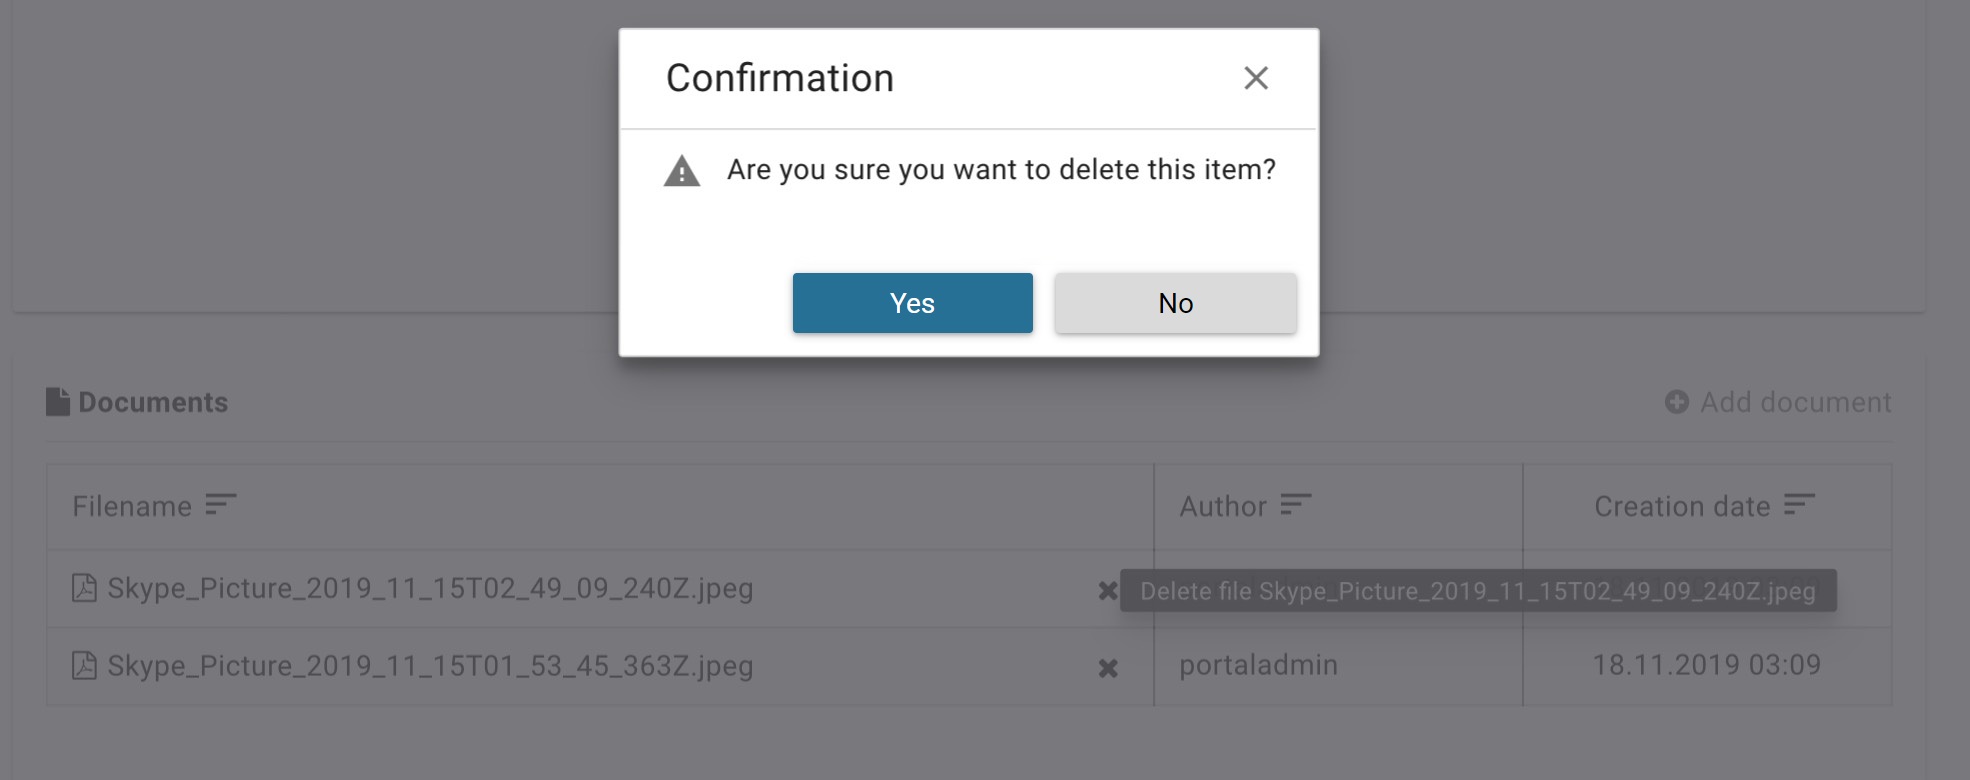
 Delete button next to the
attachment you want to remove
Delete button next to the
attachment you want to removeA Confirmation dialog is opened
Confirm the deletion with the button Yes
HowTo: Add a note to a task
Open the task details of a task
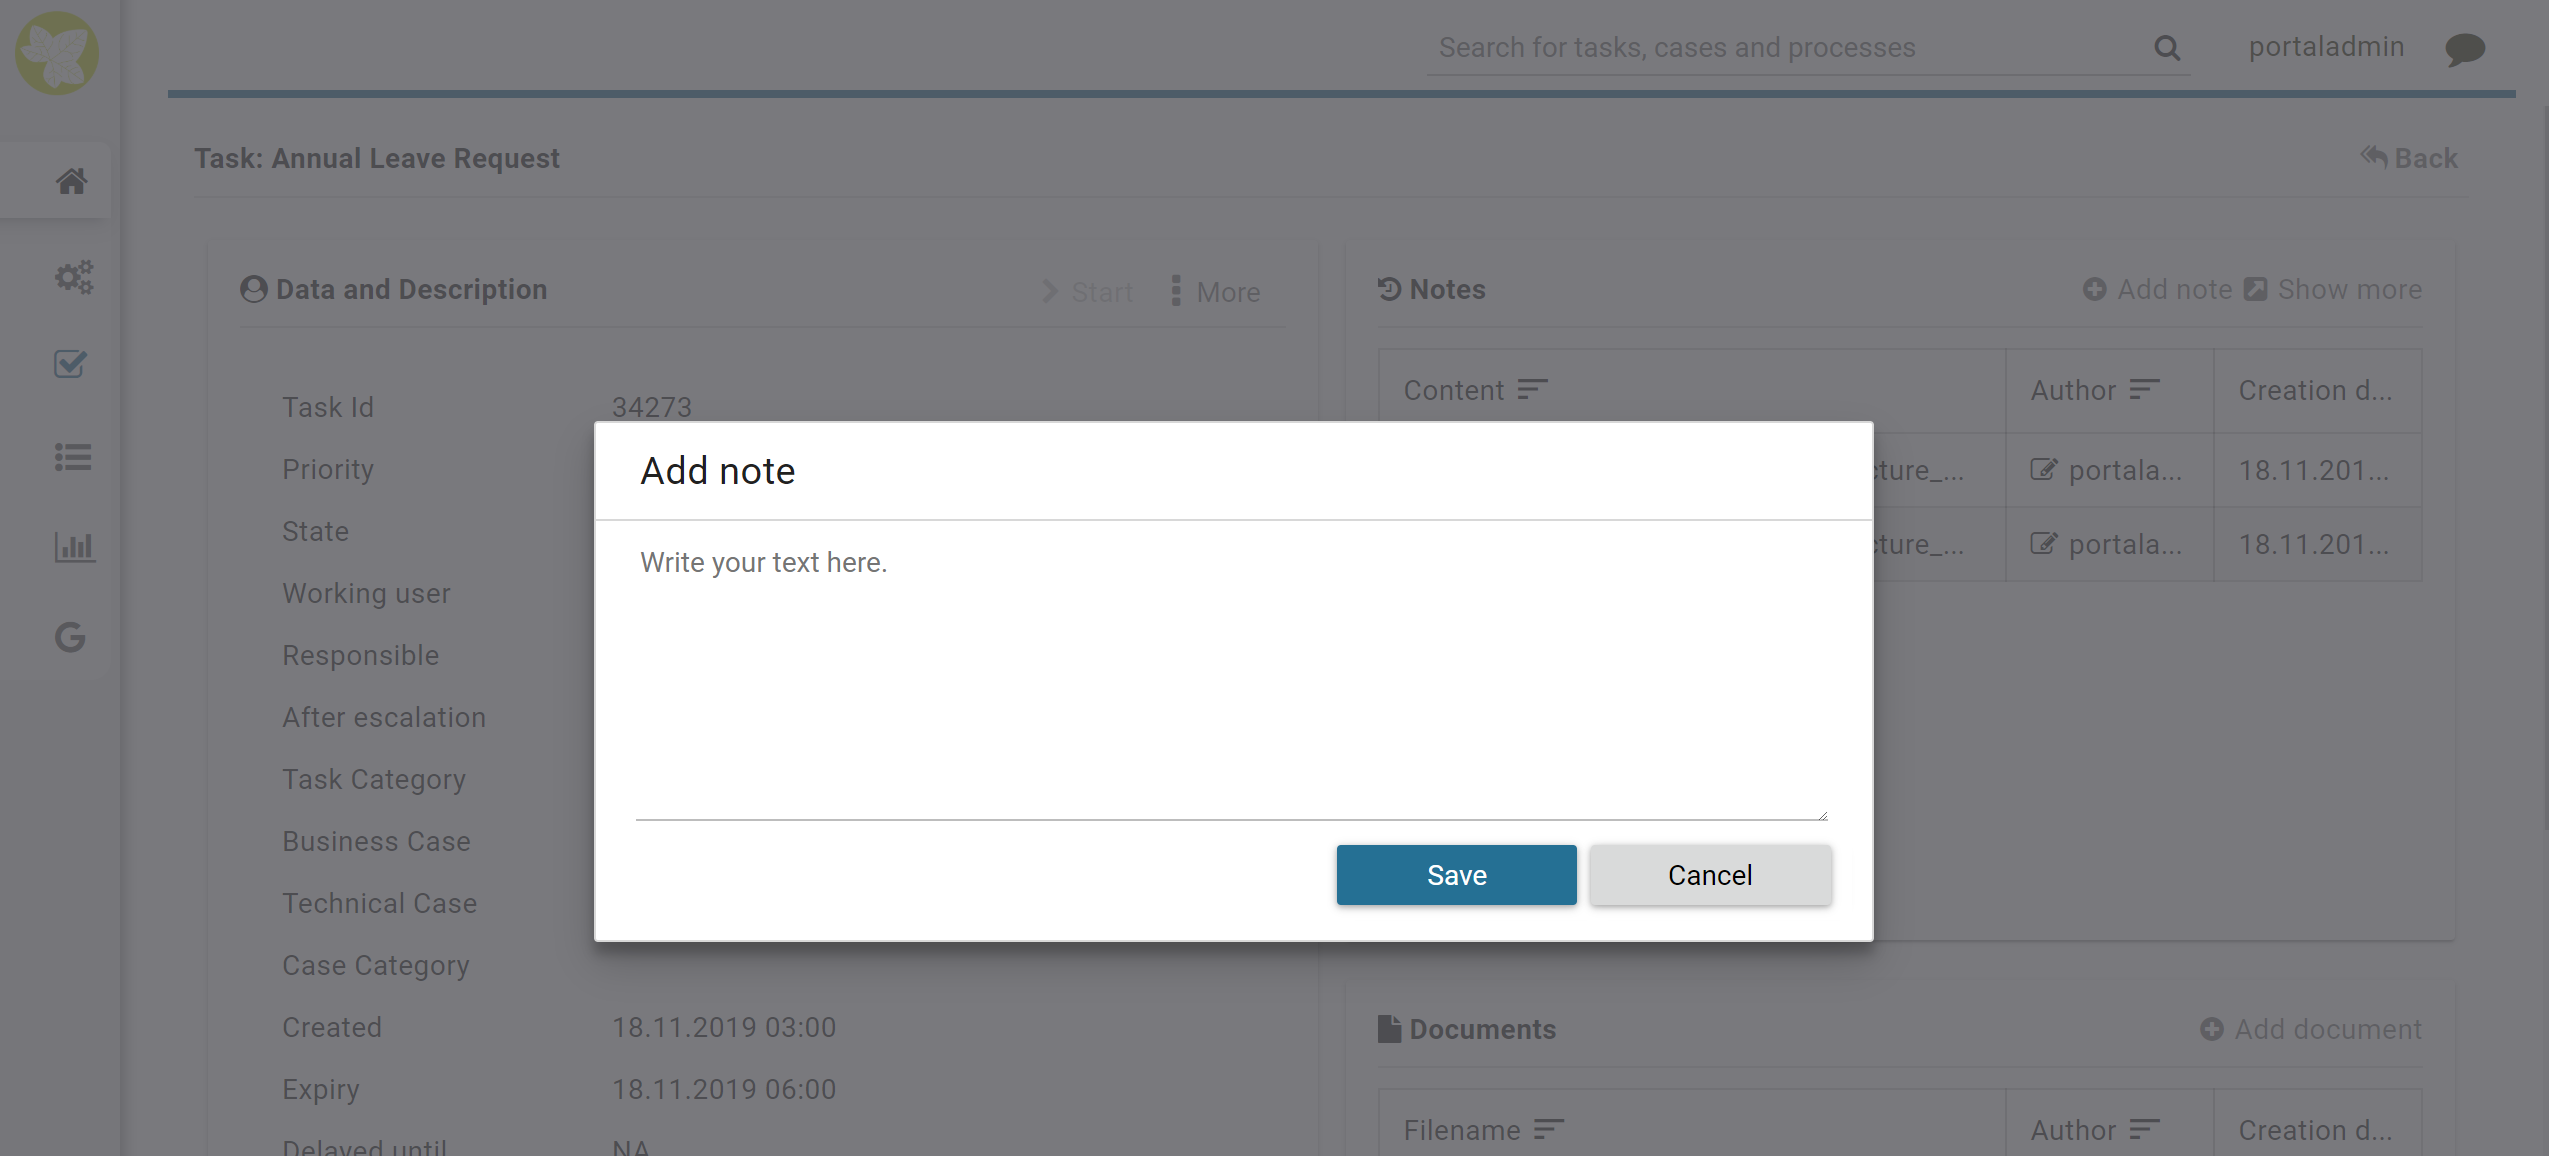
Click on the
Add note link below the notes sectionThe Add note dialog is opened
Enter your note
Confirm your note by clicking the button Save
HowTo: Show Workflow Events
Note
User must to has permission WORKFLOW_EVENT_READ_ALL to see all workflow events of a task
Open the task details of a task
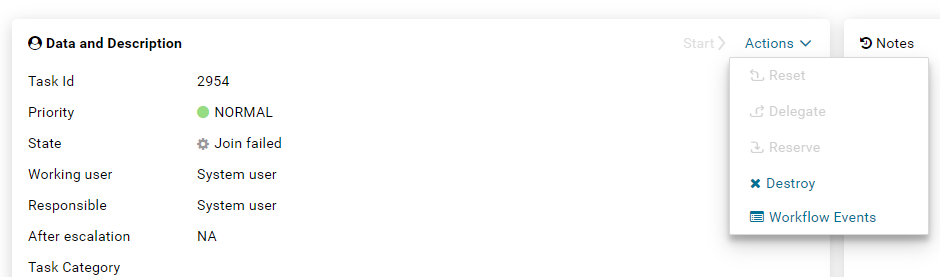
Click on the Actions link on the right top corner of the Data and Description section
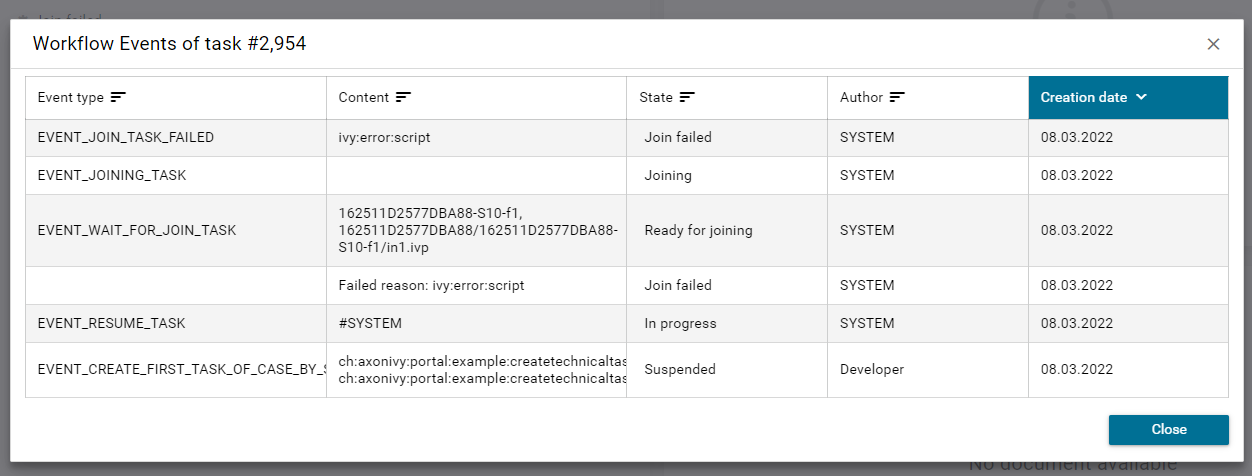
Click Workflow Events link on the overlay panel
Workflow Events dialog
HowTo: Export a task history
Open the task details of a task
Click on the
 Show more link below the notes section
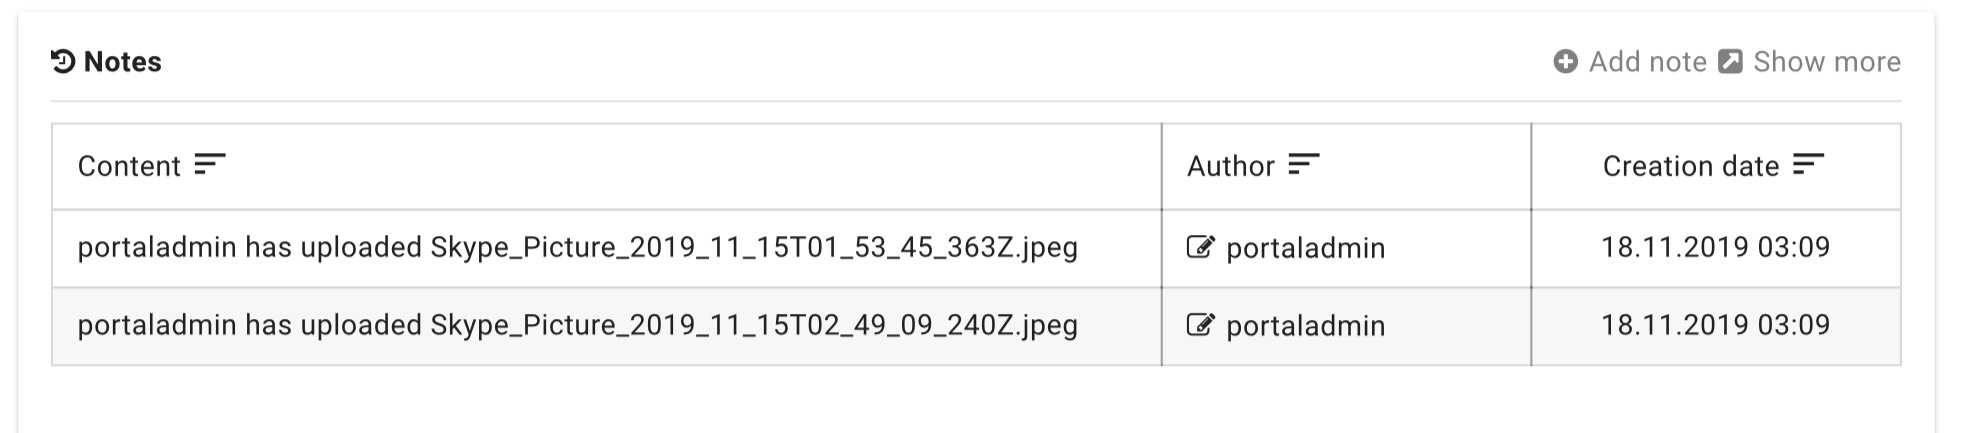
A new page with the task history is opened
You may export the history by clicking on the button Export to Excel
