Full Task List
The Full Task List page is a dashboard featuring a single, full-width task widget.
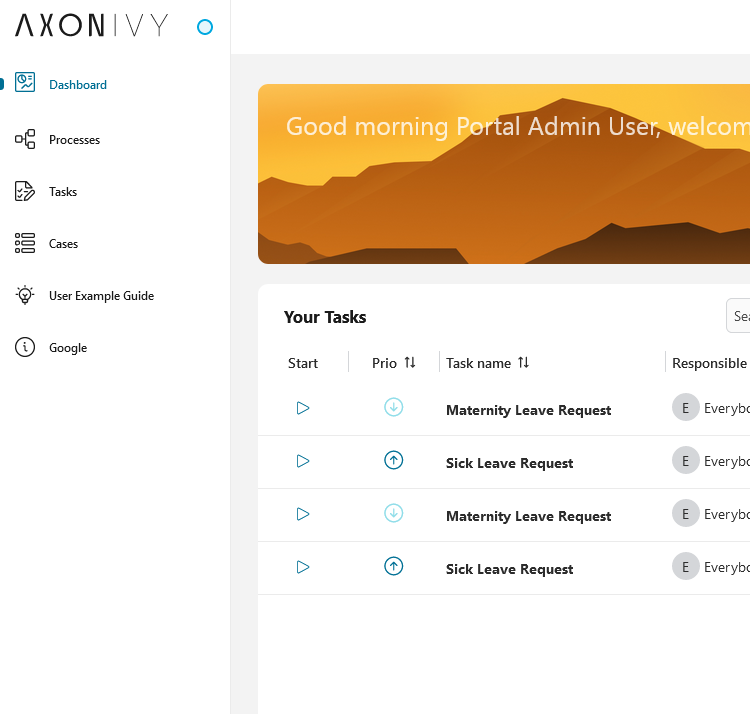
You can reach the page by using the  Tasks link in the Axon Ivy Portal menu.
Note
Grant permission 🔑AccessFullTaskList to allow a user to access the full task list ( Tasks) in the Axon Ivy Portal menu.
Hint
Depending on the roles you hold in the application and the configuration of the Axon Ivy Portal, you might see not only the tasks belonging to you but all open tasks.
On the top of the Full Task List page you see next to the heading Tasks in brackets the overall number of tasks shown to you. Below you find the filter feature. The usage will be explained in the HowTo’s further down this chapter. Finally, you see the list of tasks.
For each task the following key information is shown in the list:
Priority
Task ID
Name
Description
Responsible user or role
State
Creation Date
Expiry Date
Category
Application (This column is not displayed by default)
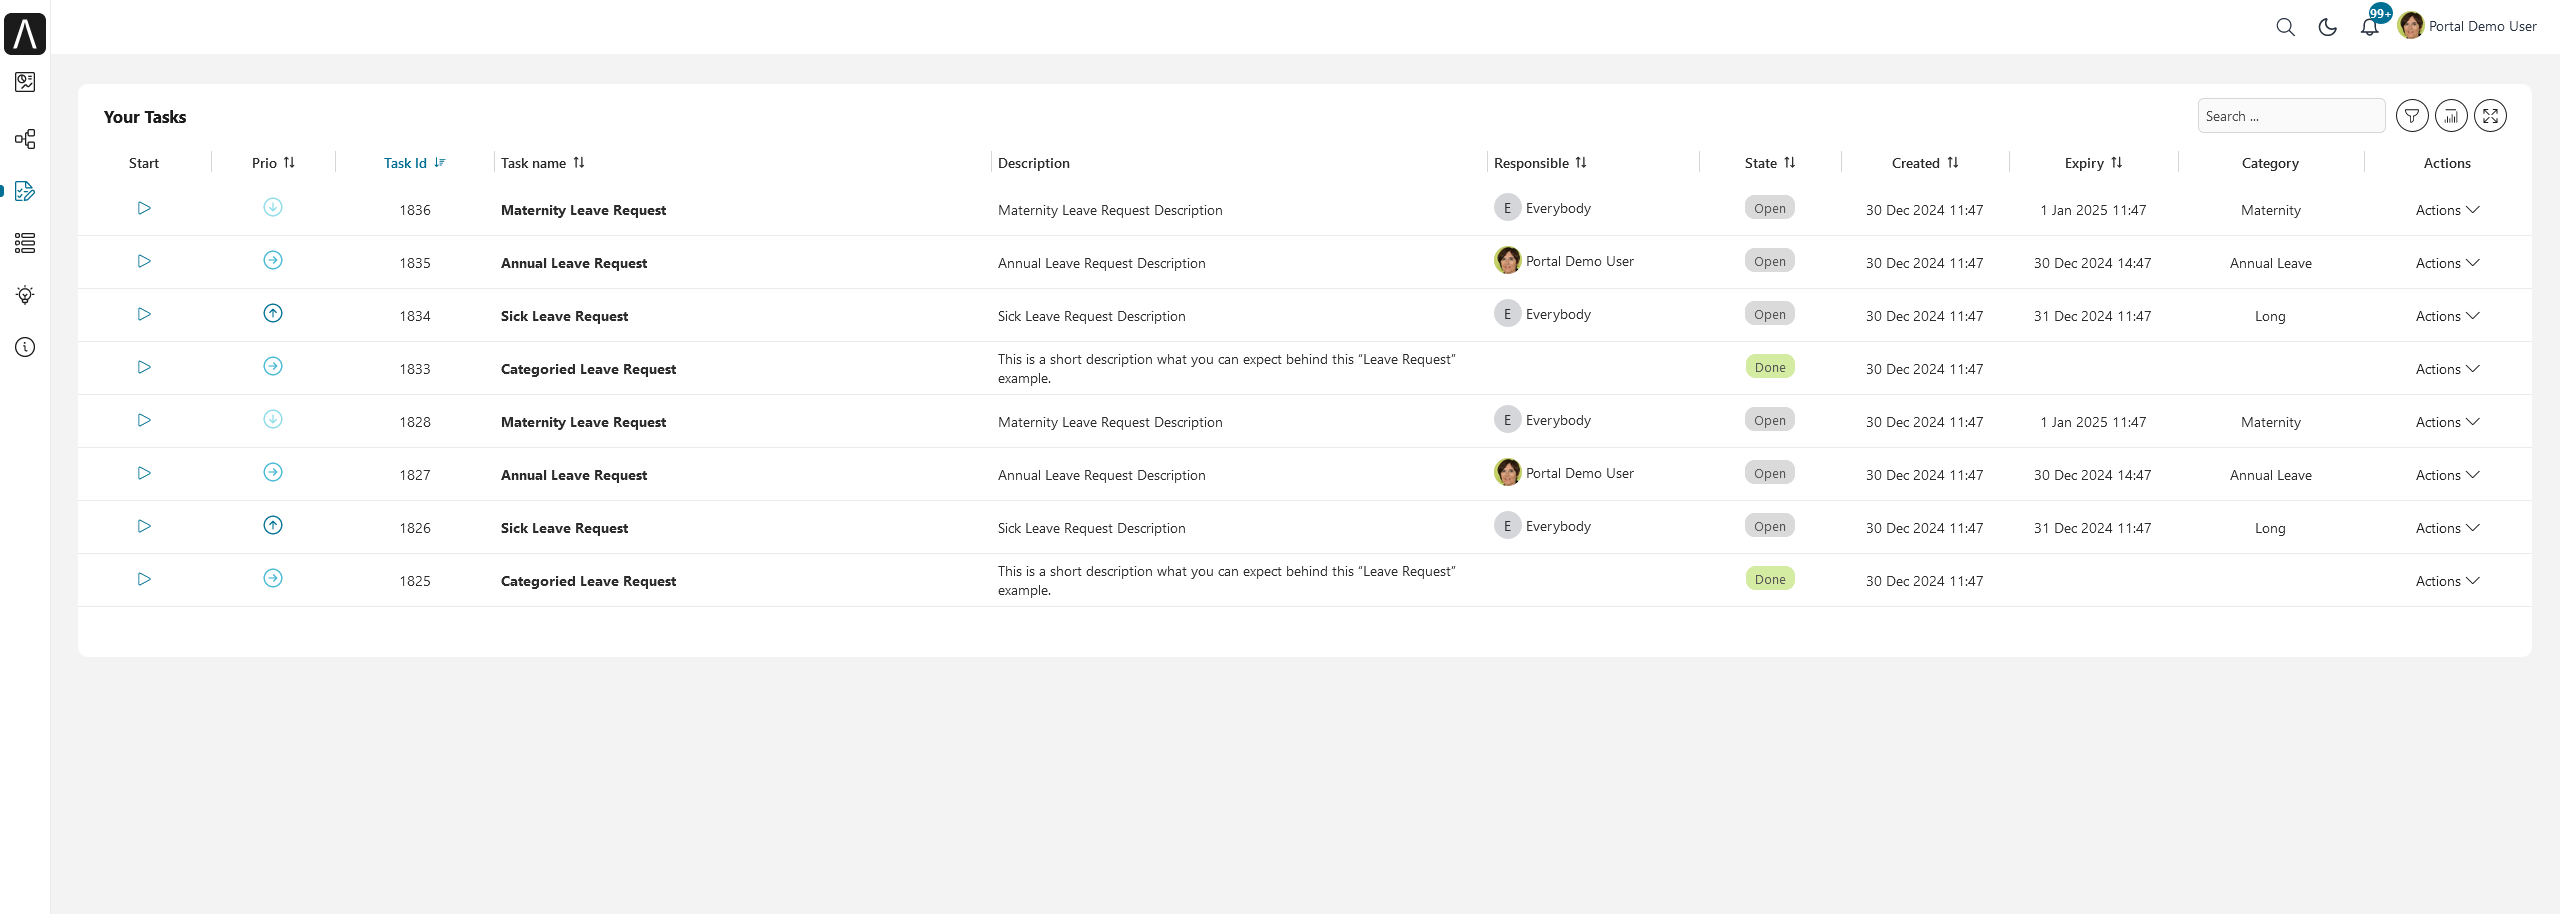
Furthermore, at the end of each row you find the Actions menu of key features in handling tasks:
Details
Reset Task
Delegate Task
Reserve
Destroy
Trigger Escalation
Workflow Events
Process Viewer
Note
Grant permissions 🔑TaskDisplayResetAction, 🔑TaskDisplayReserveAction, 🔑TaskDisplayDelegateAction, 🔑TaskDisplayDestroyAction, 🔑TaskDisplayAdditionalOptions, 🔑TaskDisplayWorkflowEventAction to allow a user to see the corresponding buttons and menu items.
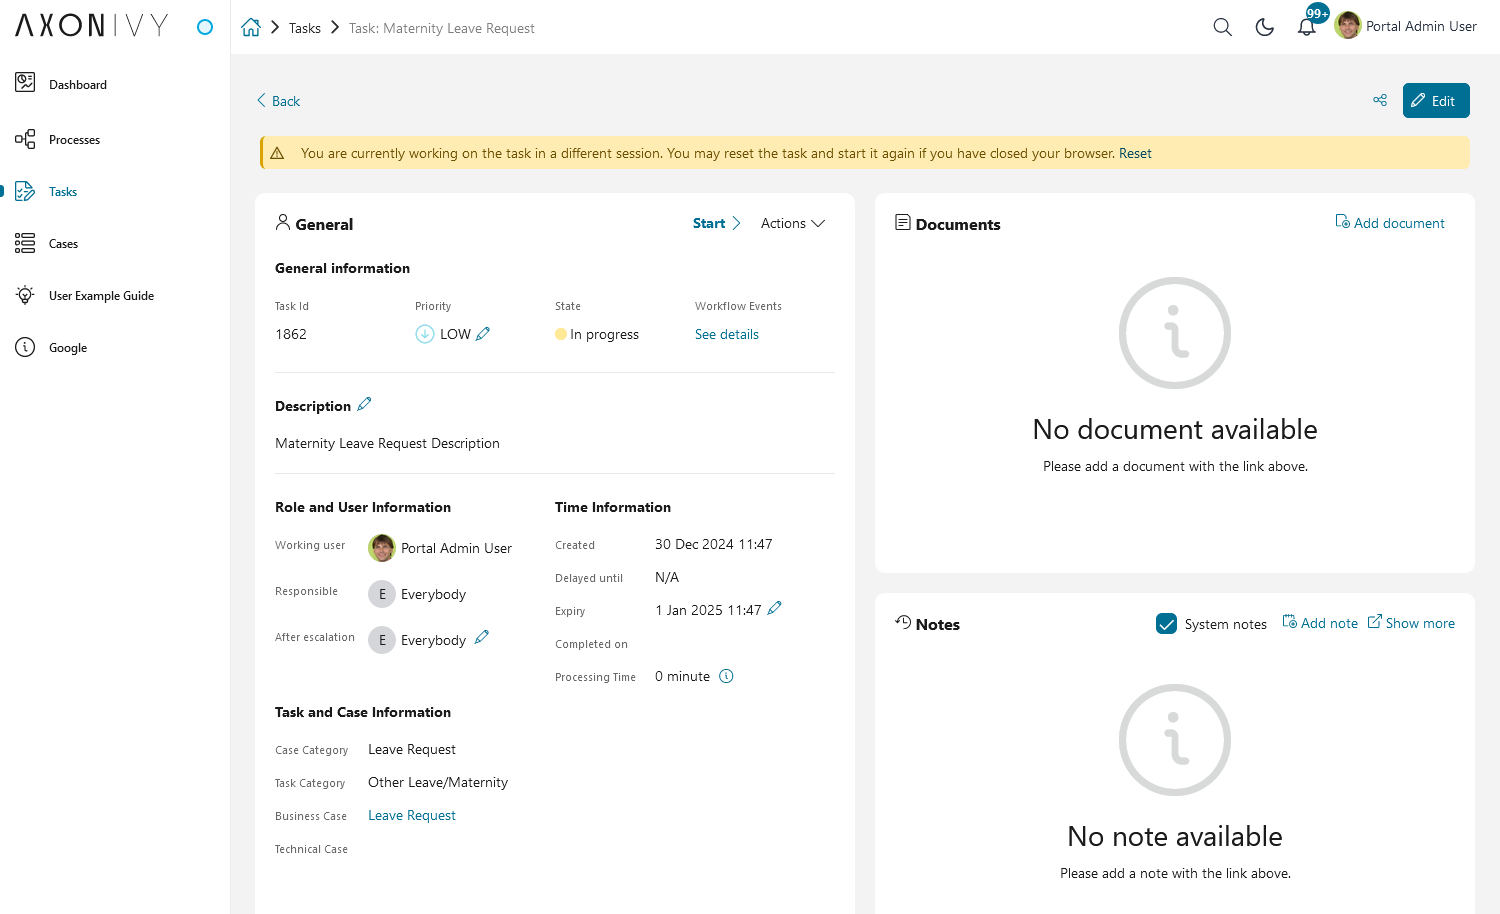
Finally, you have the possibility to access the full set of the task data by clicking on Actions then clicking on the Details menu item.
The task details are separated into 4 different sections:
Task status banner to display information that needs attention or that you should take action on.
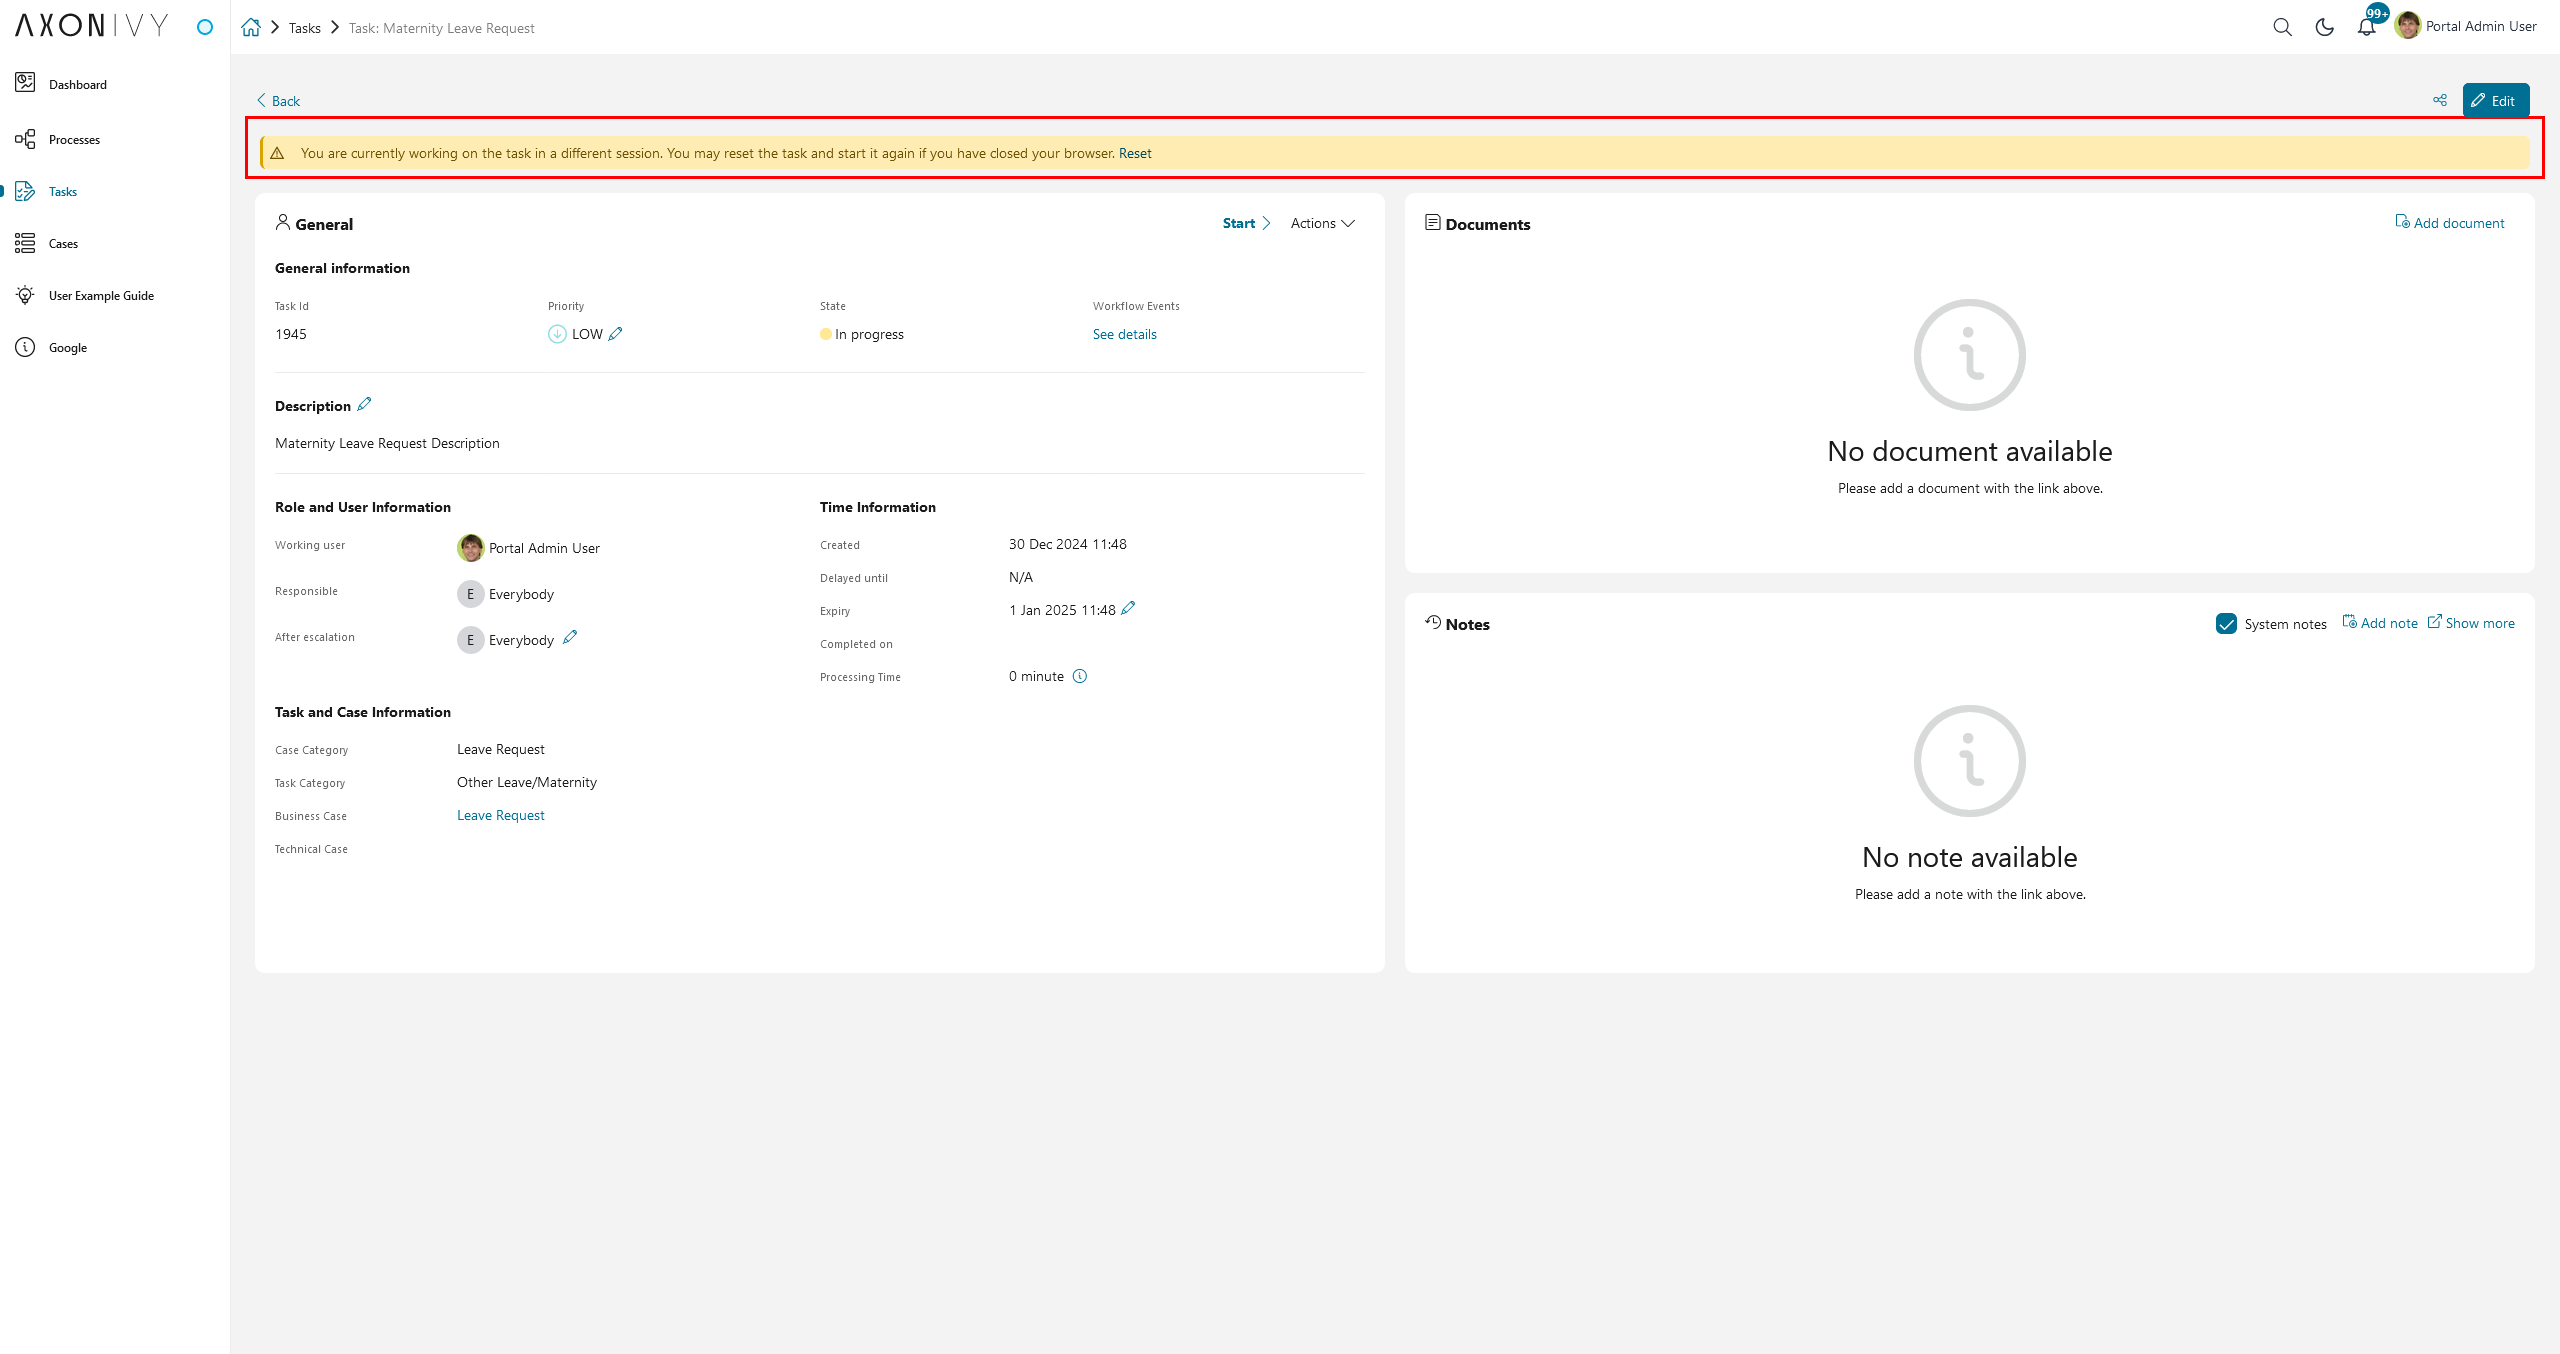
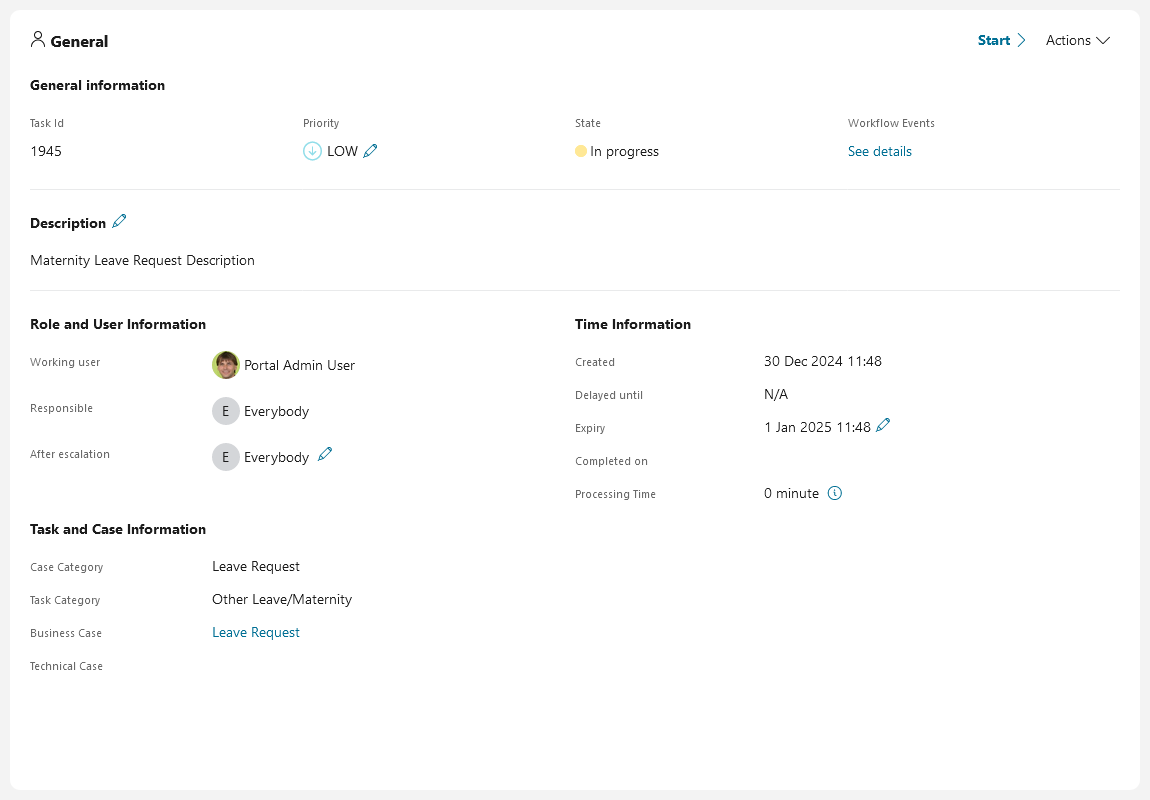
Data and description, you find various metadata concerning the task and the respective case it is related to.
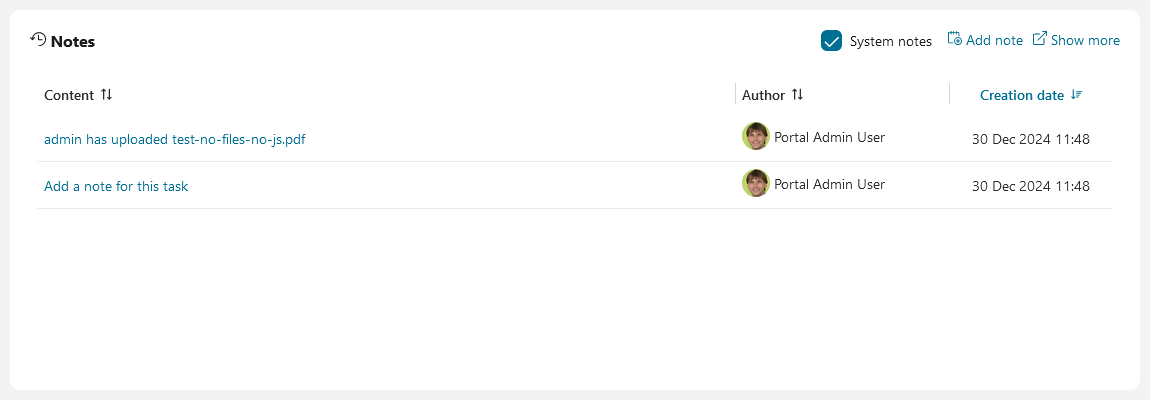
Histories, you may add additional notes which are described below
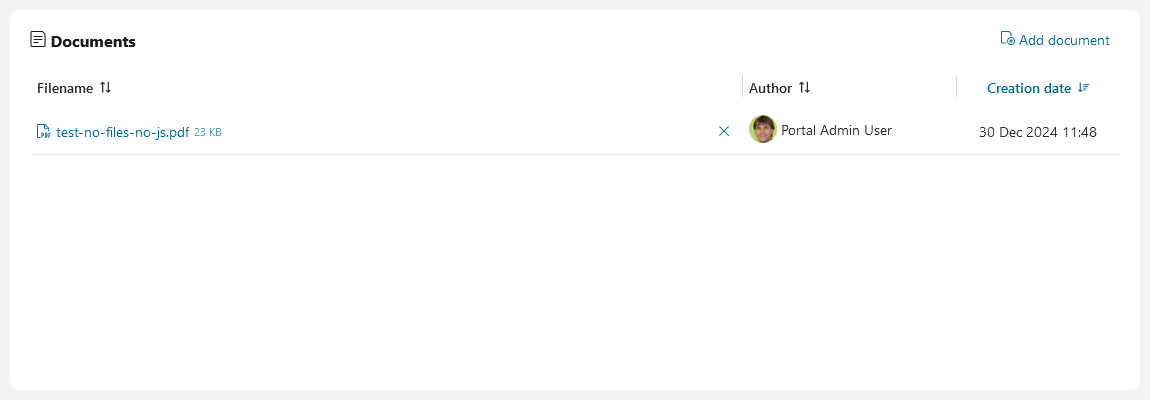
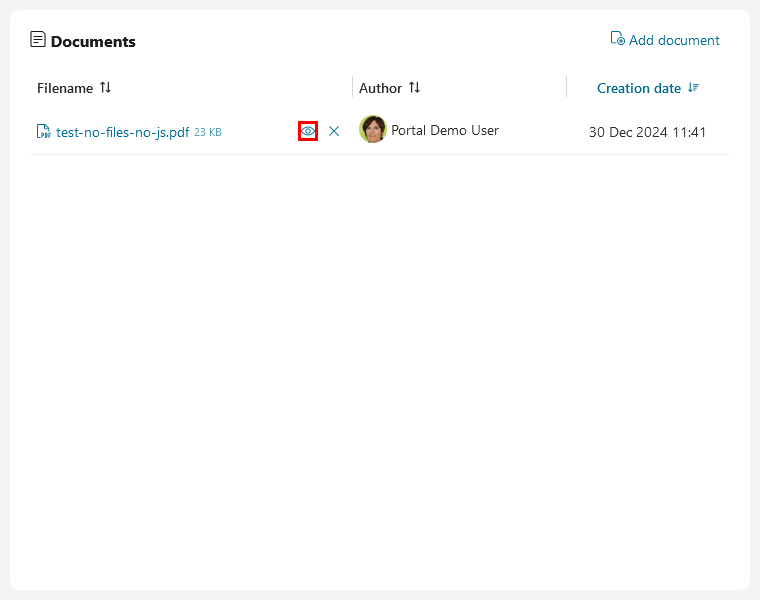
Documents, these documents once attached to the case are available on all tasks. You may add, delete or preview documents described in the HowTo’s below.
HowTo: Configure the full task list
The full task list page functions as a dashboard accessible from the top-level menu. To customize the task list, navigate to Dashboard configuration.
To restore the dashboard to its default settings, including the menu icon and task list layout, delete the dashboard. Portal will automatically recreate the dashboard with the default settings.
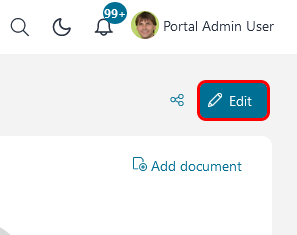
HowTo: Move and Resize Widgets in Task Details
Open the task details of a task
Click on the Edit button to drag, drop and resize widgets.
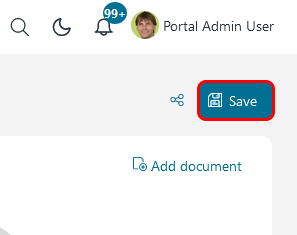
Click on the Save button to save current state of page and switch to readonly mode.
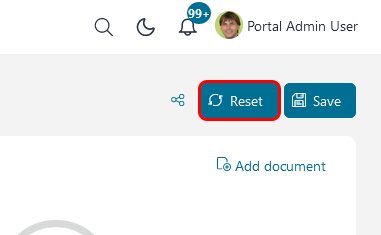
Click Reset button to reset to default configuration.
HowTo: Attach a document to a case
Open the task details of a task
Click the link

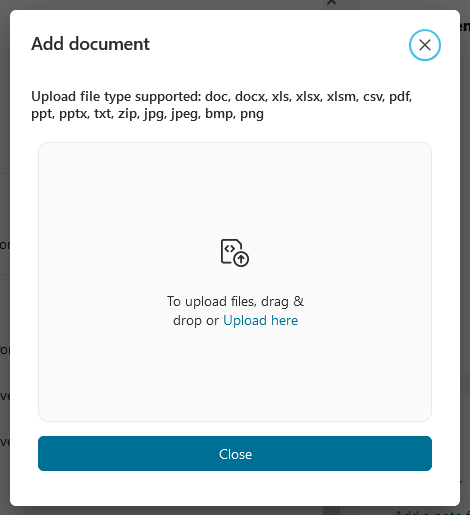
Add documentThe Add document dialog is opened
Upload a file by clicking Upload here or by dragging the file into the dialog
Click the button Close to close the dialog
Note
Grant either permission 🔑DocumentOfInvolvedCaseWrite or 🔑DocumentWrite to allow a user to upload documents.
HowTo: Remove an attachment from the case
Open the task details of a task
Click on the
 button next to the
attachment you want to remove
button next to the
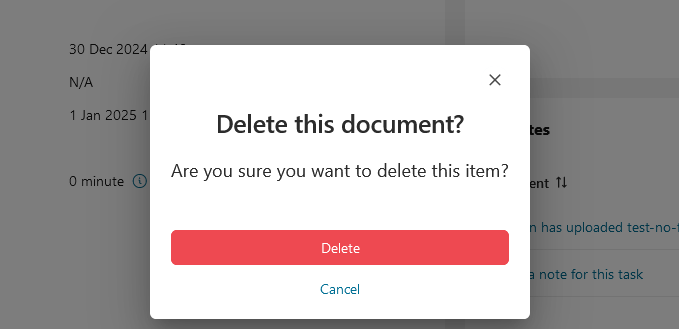
attachment you want to removeA confirmation dialog is opened
Confirm the deletion with the button Delete
Note
Grant either permission 🔑DocumentOfInvolvedCaseWrite or 🔑DocumentWrite to allow a user to delete documents.
HowTo: Preview a document of a case
Open the task details of a task
Click on the
 button next to the
attachment you want to preview
button next to the
attachment you want to previewA preview dialog is opened
Click the button Close to close the dialog
Note
Portal can preview images, plain text(txt and log) and pdf documents.
Change Portal settings Portal.Document.EnablePreview to true to enable this feature.
HowTo: Add a note to a task
Open the task details of a task
Click on the link
Add notebelow the notes sectionThe Add note dialog is opened
Enter your note
Confirm your note by clicking the button Save

Note
Notes of a task are displayed in the Notes table of the task details, and in the History table of its business case.
If the task belongs to a technical case, its notes are also displayed in the History table of this technical case.
Grant permission 🔑TaskCaseAddNote to allow a user to add task and case notes.
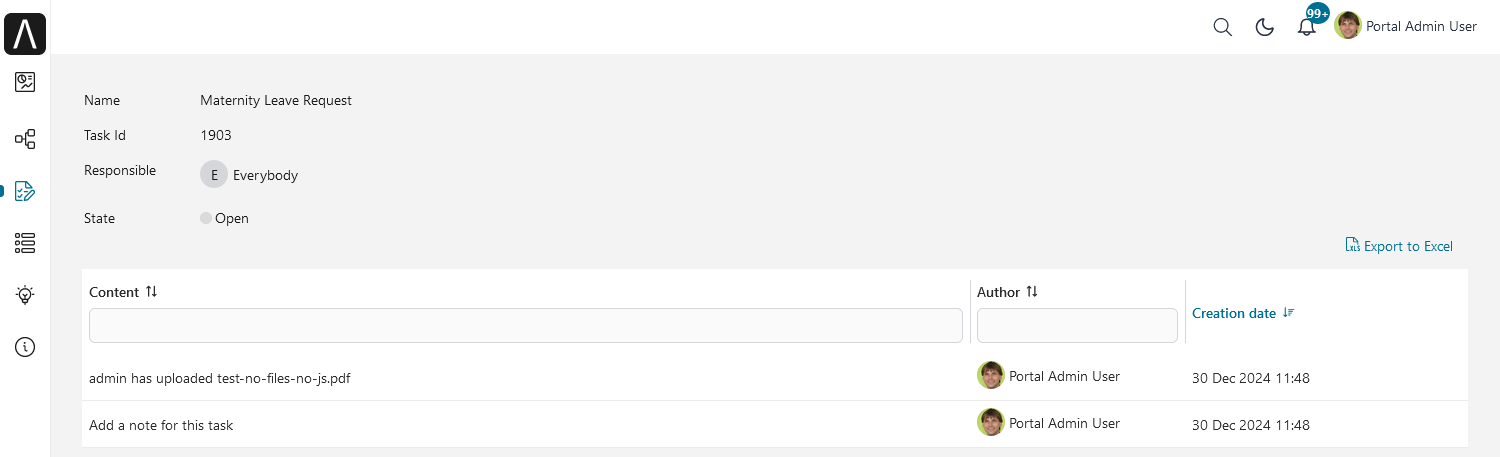
HowTo: Export a task history
Open the task details of a task
Click on the link

Show morebelow the notes section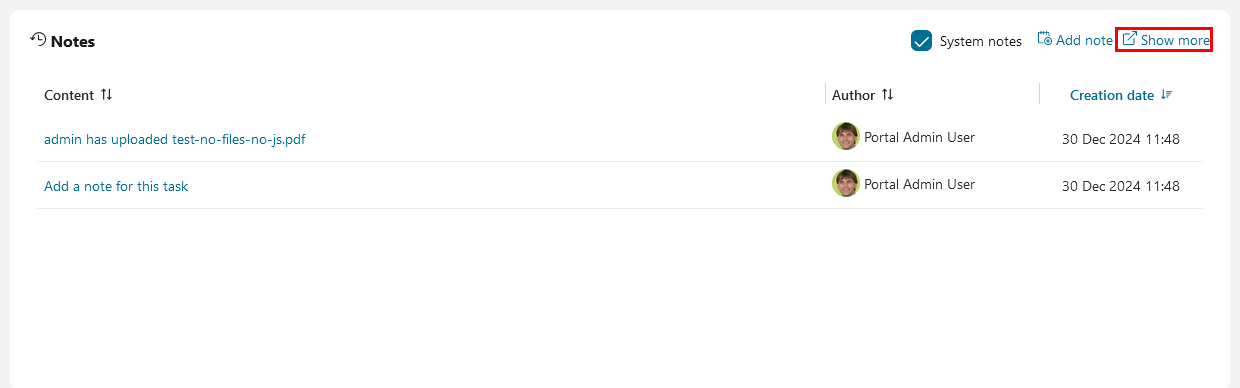
A new page with the task history is opened
You may export the history by clicking on the button Export to Excel
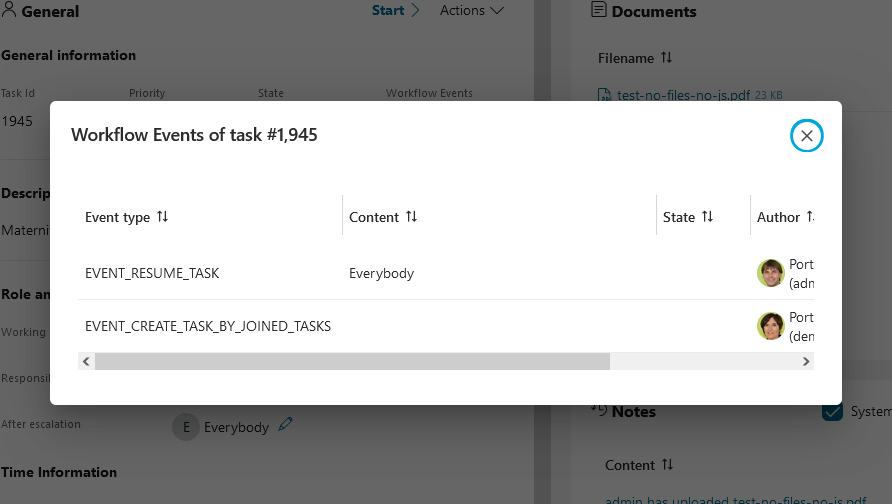
HowTo: Show Workflow Events
Note
Grant permission 🔑WorkflowEventReadAll to allow a user to see all workflow events of a task.
Open the task details of a task
Click on the link
Actionson the right top corner of the Data and Description sectionClick the link
Workflow Eventson the overlay panel to see Workflow Events dialog
Workflow Events dialog
HowTo: Share Task Details
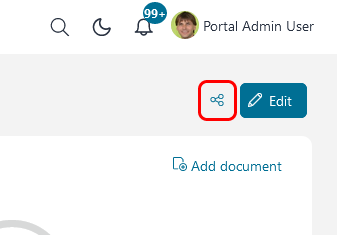
Open the task details
Click on the share button

Note
Grant permission 🔑ShareTaskDetailsLink to allow a user to share task details.