Layout Templates (Deprecated)
Warning
Certain components are marked for removal in version LTS 12. Please take note of these changes and plan your updates accordingly.
Templates for Development (Deprecated)
Your Portal project depends on portal, which offers several templates that can be used directly withoutIFrames.
Additionally, two templates are described to be used with IFrames.
Templates without IFrames:
Templates to use with IFrame:
IFrame Task template (Template used internally by Portal to configure IFrames)
frame-8 template (Provided by core, uses Serenity theme)
frame-10 template (Provided by core, uses Freya theme)
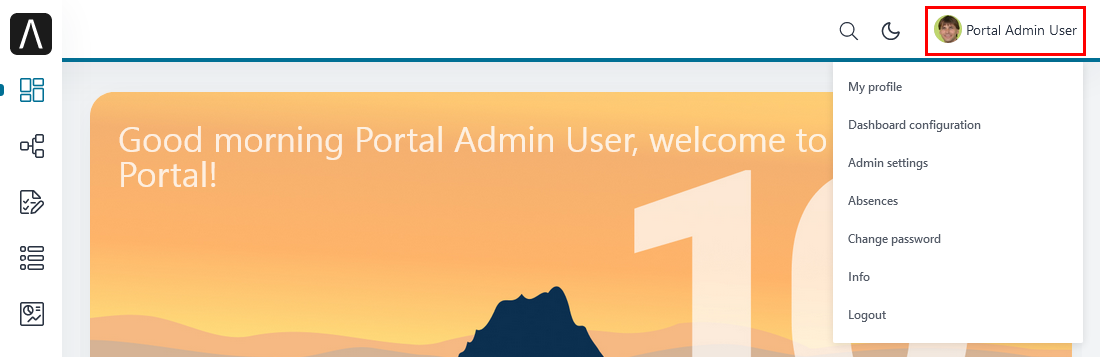
These templates have the same header, which is a menu of applications that you configure on the Administration page. Since version 8.0, Portal officially supports responsiveness. Every template has its default responsiveness. Refer to Responsiveness to override it.
Additionally, there are user settings like My Profile, Absences, Email, and Administration (for Administrators only). For details about user settings, refer to Settings.
Note
The frame-8 and frame-10 templates do not contain any content from the Portal. Therefore, if you want to reuse some Portal content, you have to add it manually to your HTML file.
For example, if you want to use the customized layout in Portal, add the code below:
<h:outputStylesheet library="css" name="template.css" />
Basic Template (Deprecated)
The Basic template provides a basic layout so you as a developer can put your custom contents. It lacks the Portal menu and Case details. We recommend to use the task template for your process.
How to Use Basic Template
Create a new HTML User Dialog and then use
ui:compositionto define the template inside and reuse the default responsive behavior. Define thepageContentsection and Responsiveness.<ui:composition template="/layouts/BasicTemplate.xhtml"> <ui:define name="title">Sample Page</ui:define> <ui:define name="pageContent"> This is sample content. </ui:define> </ui:composition>
See the result after using the Basic template, e.g.:
IFrame Task Template
The IFrame Task Template is used to display task functionality (e.g. the process chain) and related case information to help complete the task. It renders your task UI inside an IFrame (refer to IFrame in Portal).
The template expects to receive some parameters passed by JavaScript. Inside your UI, you can configure these parameters as follows; they will be rendered by the template automatically:
<script>
   // Set the process steps directly as Array.
   window.processSteps = ["Create Investment Request", "Approve Investment Request"];

   // If the process steps are set in HTML dialog logic or java code, convert it to JSON format
   // Use this code if the process steps are a Java String list
   window.processSteps = #{portalComponentUtilsBean.convertToJSON(data.steps)};

   // Current process step could be a number or String:
   window.currentProcessStep = 0;
   window.currentProcessStep = #{data.currentProcessStep};
   window.currentProcessStep = "#{data.currentProcessStep}";
   window.isShowAllSteps = true;
   window.isHideTaskName= false;
   window.isHideTaskAction = false;
   window.isHideCaseInfo = false;
   window.isWorkingOnATask = false;
   window.processChainDirection = "VERTICAL";
   window.processChainShape = "LINE";
   window.announcementInvisible = false;
   window.viewName = "TASK_DETAIL";
   window.taskName = "Your New Task Name";
   // Define task icon using font Streamline or font Awesome
   window.taskIcon = "si si-coffee-cup";

   // Use this code to show case details of a case different from current case of working task.
   // by send the case ID of that case.
   window.caseId = 123456;
</script>
Note
Do not use or refer to this template in your Dialog. This will be done automatically by Portal if you use our IFrame Approach. Refer to IFrameTaskTemplate.xhtml in the portal project to see detailed information about how to use and pass parameters.
In case your project has a navigation button that does not complete a task, e.g Cancel, to
One of the default pages (application home, task list, process list, etc.): in your HTMLDialog, redirect to the page you want to display.
Previous page: call
navigateToPortalEndPage()from classPortalNavigatorInFrameAPI.A specific URL: call
navigateToUrl(String url)from classPortalNavigatorInFrameAPI.
TaskTemplate-8 (Deprecated)
Task Template 8 is a template that uses the default theme of Portal introduced since Portal 8. Because there is no TabView, you have to define that if needed.
Warning
Be aware that when using this template, your HTML dialogs are also affected by the styles of Portal. Therefore, you might need some migration efforts when upgrading to future releases of Portal.
We recommend to use IFrame in Portal.
Important
This template must not be used inside an iFrame.
How to use TaskTemplate-8
Create a new HTML User Dialog and then use ui:composition to define the
template.
<ui:composition template="/layouts/TaskTemplate-8.xhtml">
Refer to TaskTemplate-8.xhtml for parameters and template areas.
If you want to navigate to another page without finishing a task please use these methods from
class PortalNavigatorAPI of project portal-components
Home page: call
navigateToPortalHome()Previous page: call
navigateToPortalEndPage()
How to migrate TaskTemplate-8
TabView is removed and <ui:define name="taskForm" /> is DEPRECATED, use <ui:define name="content" /> instead.
<ui:define name="dynamicTabs" /> is removed, design your TabView if needed.
Refer to TaskTemplate-8.xhtml for parameters and template areas.
Pros |
Cons |
|---|---|
|
|
External Case Information
By default, TaskTemplate-8 will show business case details of the working task in the Case Information dialog.
But you can modify it to show details of another case instead by using parameter caseId.
The parameter caseId only accepts case ID of an existing case. If Portal cannot find the case it will show
business case details of the working task instead. Please refer to the example below.
<ui:param name="caseId" value="123456" />
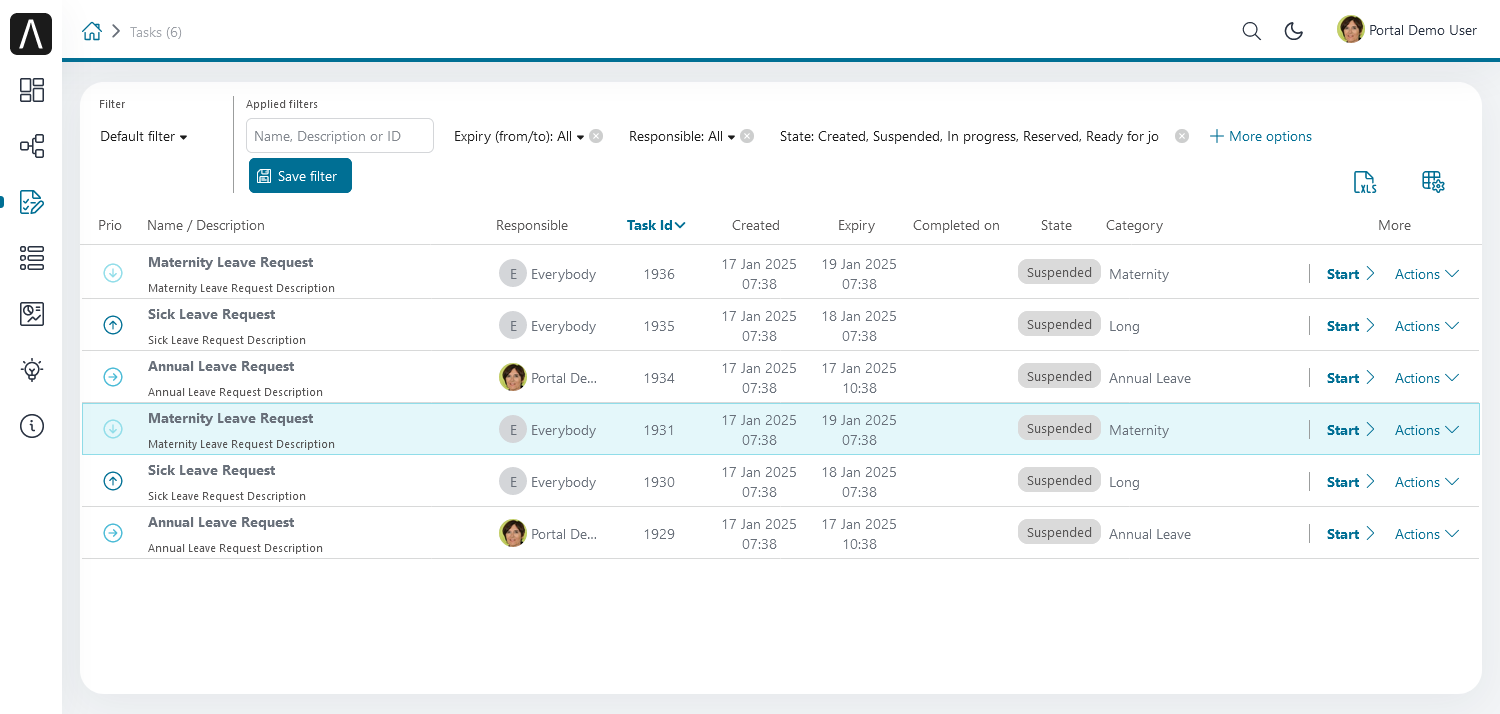
Task List Template (Deprecated)
Task list template is used to display a task list so the end user can see tasks and their details.
How to Use Task List Template
Create a new HTML User Dialog and then use
ui:compositionto define the template.<ui:composition template="/layouts/PortalTasksTemplate.xhtml"> </ui:composition>
The data class of this dialog should have an attribute named
taskViewwith typech.ivy.addon.portal.generic.view.TaskView. By changing this attribute, you can modify the title of the task list widget, which tasks are collected (throughdataModel) and more. The following is a sample to build a taskView.import ch.ivy.addon.portalkit.datamodel.TaskLazyDataModel; import ch.ivy.addon.portal.generic.view.TaskView; TaskLazyDataModel dataModel = new TaskLazyDataModel(); dataModel.setAdminQuery(true); dataModel.setSortField(ch.ivy.addon.portalkit.enums.TaskSortField.PRIORITY.toString(), true); category.setValue("My Task List"); out.taskView = TaskView.create().dataModel(dataModel).pageTitle("My Task List").hideTaskFilter(true) .showHeaderToolbar(false).createNewTaskView();
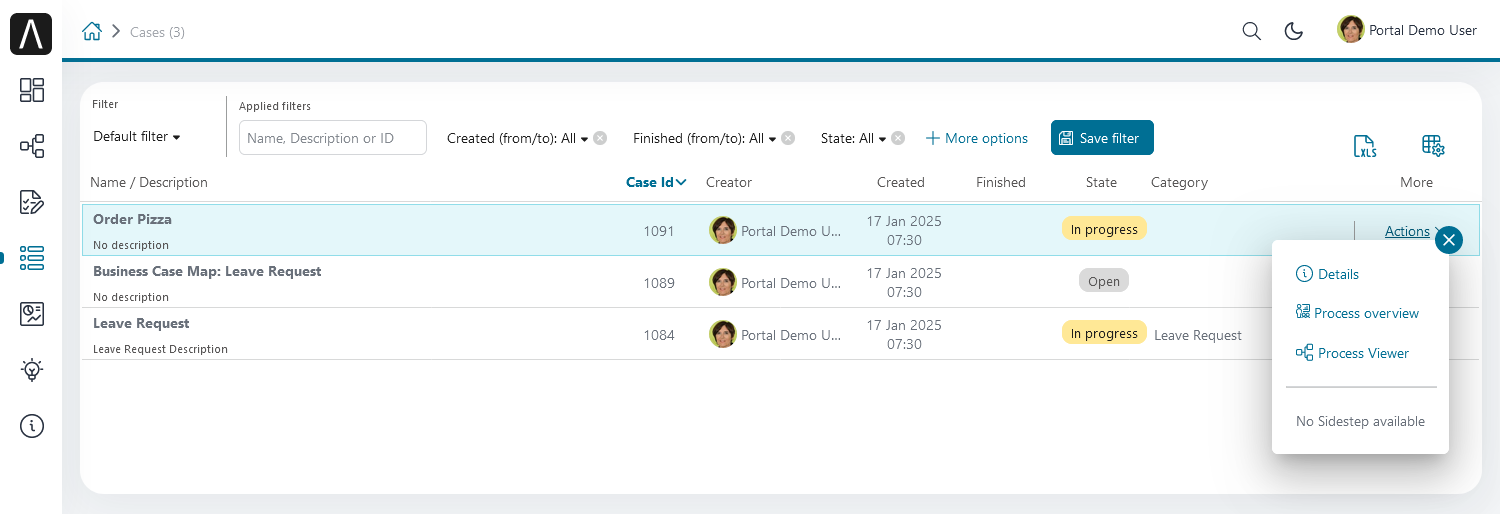
Case List Template (Deprecated)
The Case list template is used to display a case list with the end user’s cases and their details.
How To Use Case List Template
Create a new HTML User Dialog and then use
ui:compositionto define the template.<ui:composition template="/layouts/PortalCasesTemplate.xhtml> </ui:composition>
The data class of this dialog should have an attribute named
caseViewwith typech.ivy.addon.portal.generic.view.CaseView. By changing this attribute, you can modify the title of the case list widget, the cases collected (throughdataModel) and more. The following is an example to build a caseView.import ch.ivy.addon.portalkit.datamodel.CaseLazyDataModel; import ch.ivy.addon.portal.generic.view.CaseView; CaseLazyDataModel dataModel = new CaseLazyDataModel(); out.caseView = CaseView.create().dataModel(dataModel).withTitle("My Cases").buildNewView();
Handle Required Login In Templates (Deprecated)
All templates require login to access by default. But templates also allow to
access the page without login by adding the isNotRequiredLogin parameter.
How To Handle Required Login In Template
Create a new HTML User Dialog and then use
ui:paramto define the template inside<ui:composition template="/layouts/BasicTemplate.xhtml"> <ui:param name="isNotRequiredLogin" value="#{data.isNotRequiredLogin}" /> <ui:define name="pageContent"> This is sample content. </ui:define> </ui:composition>
The result of using the above template (All user settings and application menus will not be visible).
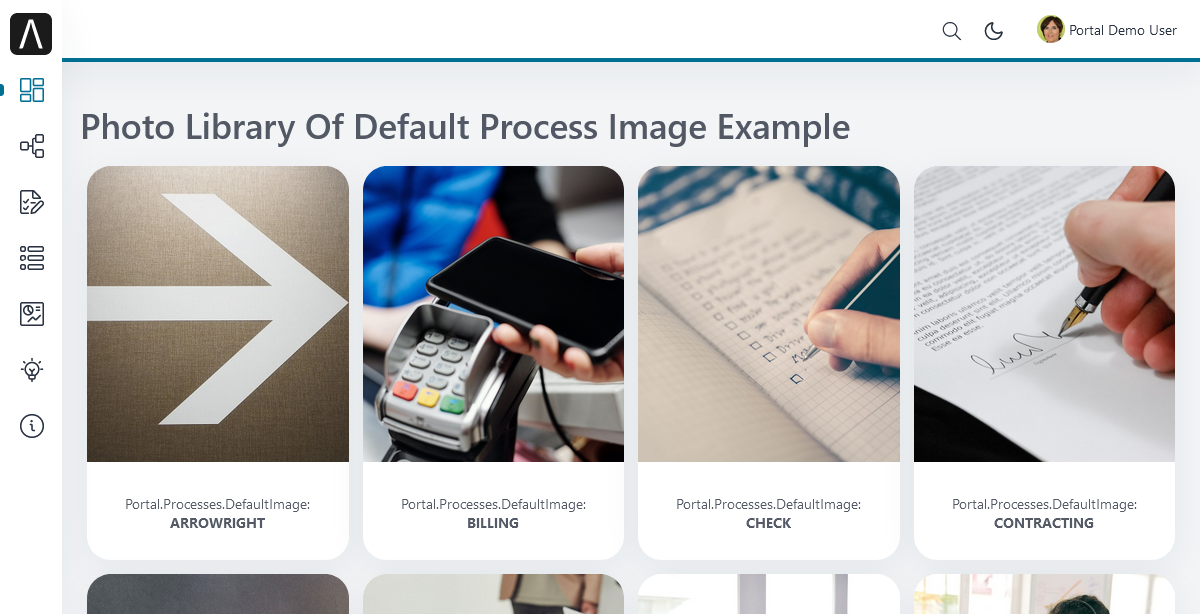
Default Homepage Template (Deprecated)
The Default Homepage template is used to create pages that look like the default homepage of the Portal. You can customize it by disabling the default widgets, adding new widgets, and changing the position of widgets. For details including basic and advanced customization, refer to Portal home
How To Use The Default Homepage Template
Create a new HTML User Dialog and then use ui:composition to define the
template.
<ui:composition template="/layouts/DefaultHomePageTemplate.xhtml">
Responsiveness (Deprecated)
Since version 8.0, Portal has a simplified ResponsiveToolKit. Now, the Portal supports various screen resolutions, not just the fixed three screen widths as before.
To apply your styles for the specific resolution, you can add your own media query CSS:
@media screen and (max-width: 1365px) {/*.....*/}
In the Portal’s new design, the width of the main container should be changed according to menu state (expand/collapse).
To adapt to the change, you need to initialize the ResponsiveToolkit
JavaScript object and introduce one object to handle screen resolutions.
Your object has to implement the updateMainContainer method.
Portal templates define their own responsiveness, you can redefine the footer section to override:
E.g. Initialize ResponsiveToolkit for a TaskList page.
<ui:define name="footer">
<script type="text/javascript">
$(function(){
var simpleScreen = new TaskListScreenHandler();
var responsiveToolkit = ResponsiveToolkit(simpleScreen);
Portal.init(responsiveToolkit);
});
</script>
</ui:define>